Fall Tree Paper Bag Crafts Kids Love
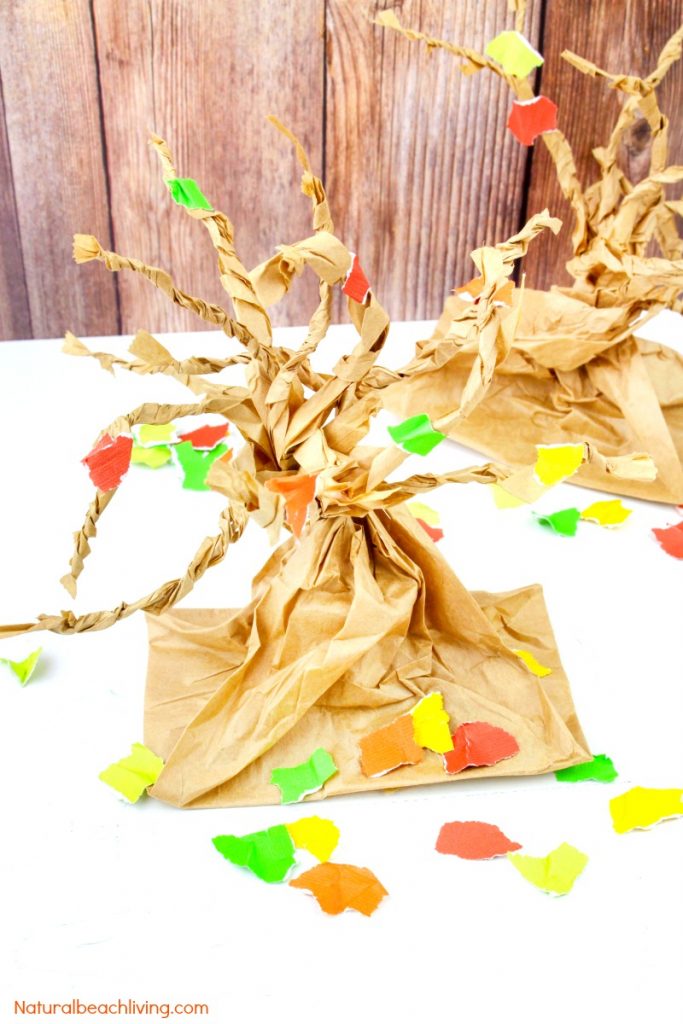
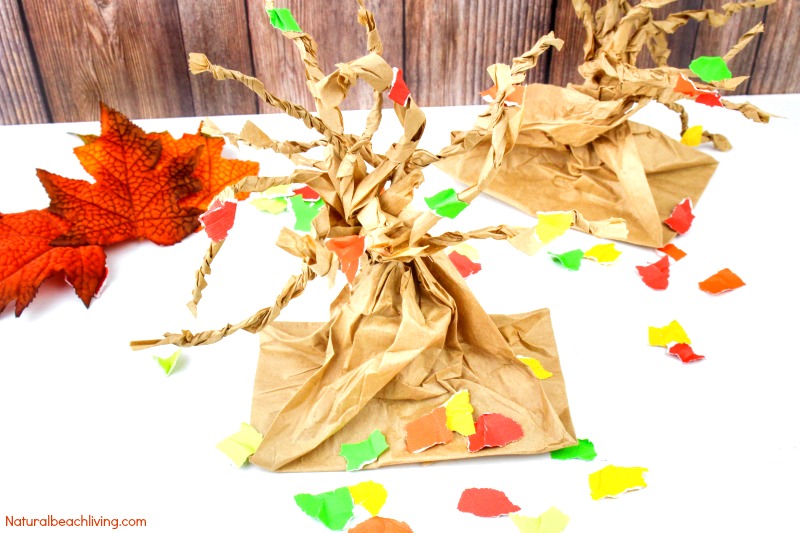
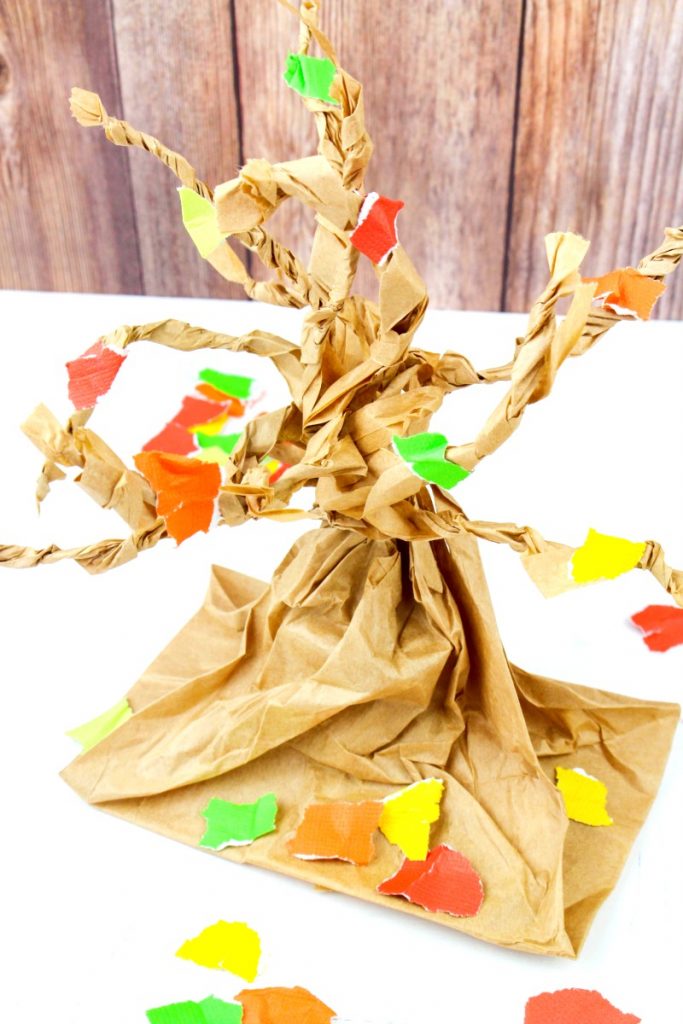
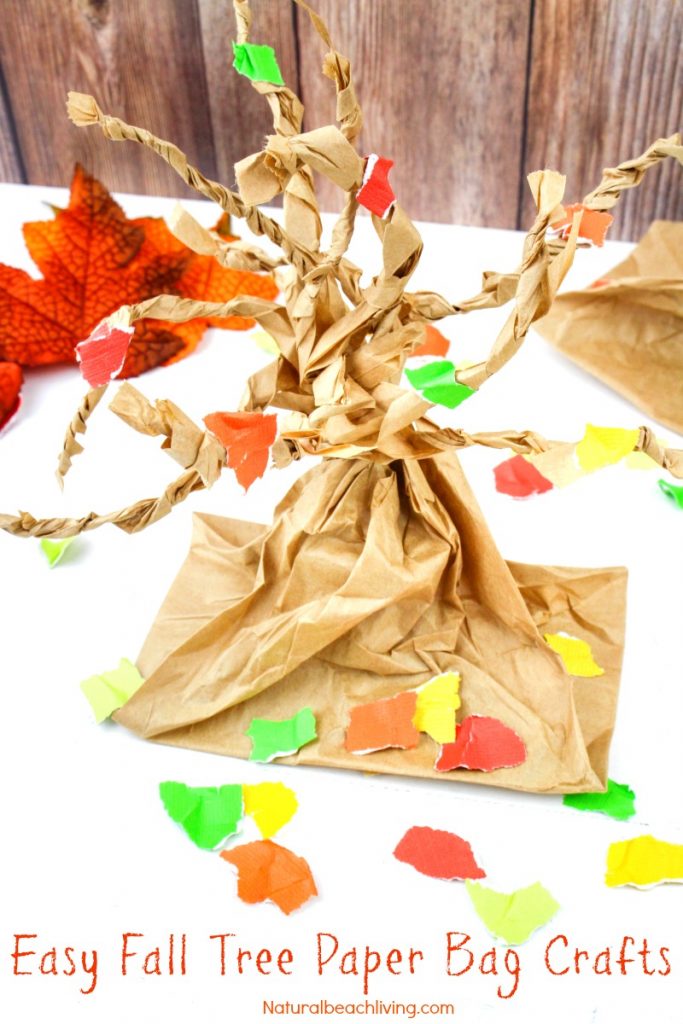
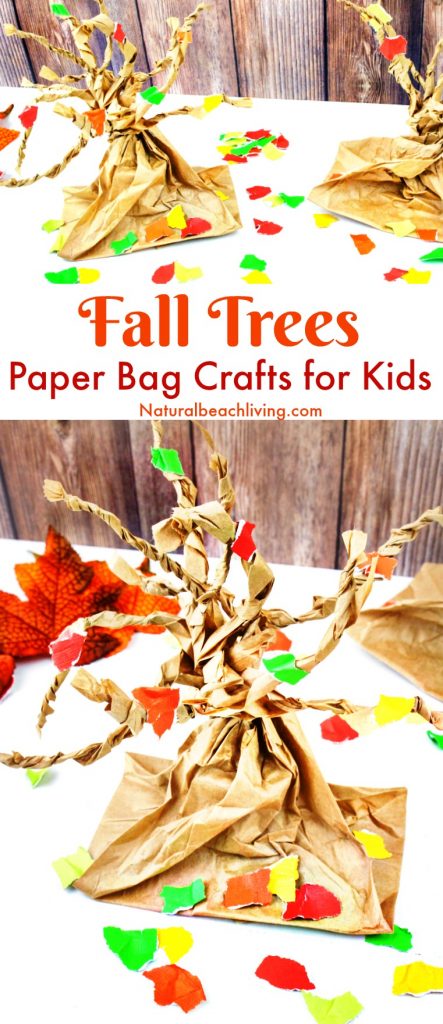
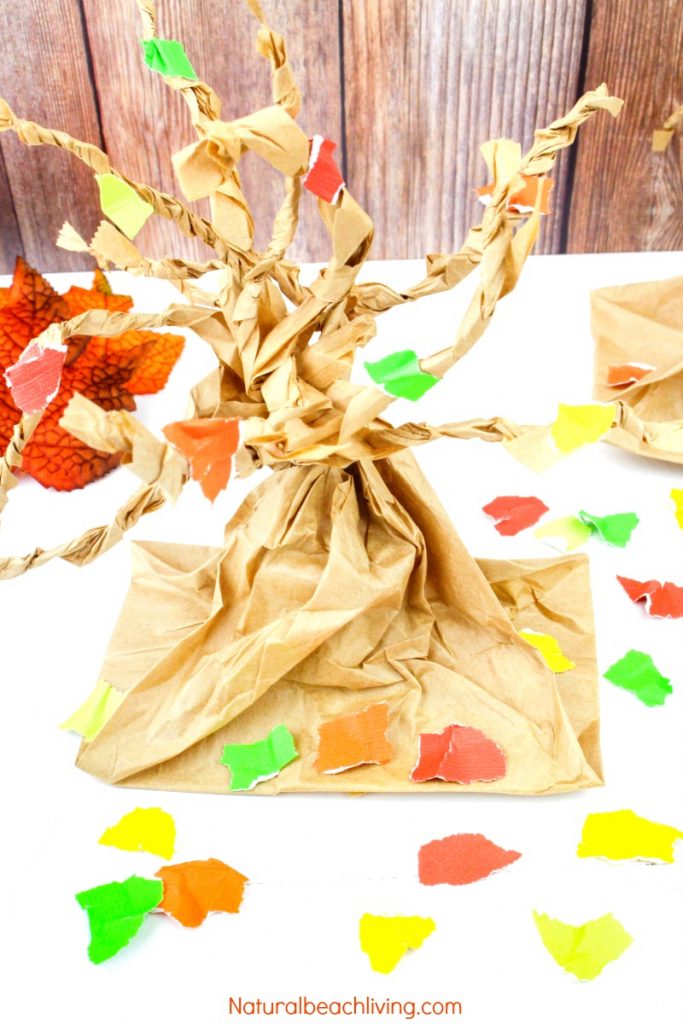
Don’t you just love this time of year? The leaves are changing; the air is getting crisp and everywhere you go it smells of pumpkin spice. I really can’t say Fall is my favorite season because I’m partial to everything beach related in the summertime. But fall does come in as a close second. What’s your favorite season? If you like adding fall crafts to your themed learning, these fall tree paper bag crafts kids love to make are a fun idea. Plus, they make a great decoration.
How to Make a Tree out of Brown Paper
Fall Tree Paper Bag Crafts Kids Love
This is a great activity to work on fine motor skills. Children can cut, tear, and twist to make a fun fall tree.
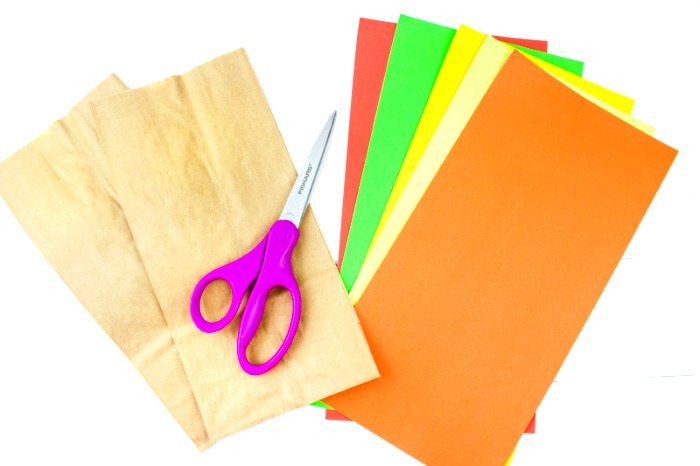
What you will need to make your Fall Tree Paper Bag Crafts is in this picture below. However, I have it displayed in list form to print out towards the bottom of the page. Enjoy!
These Trees Make Great Fall Preschool Crafts
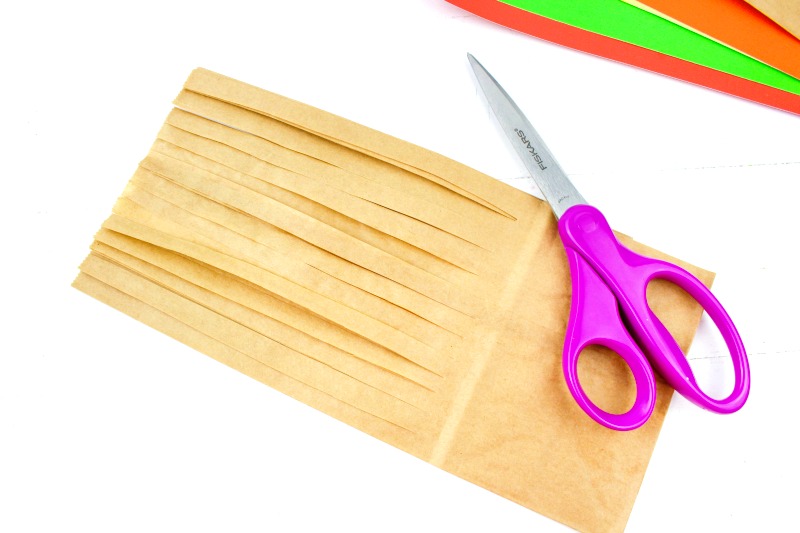
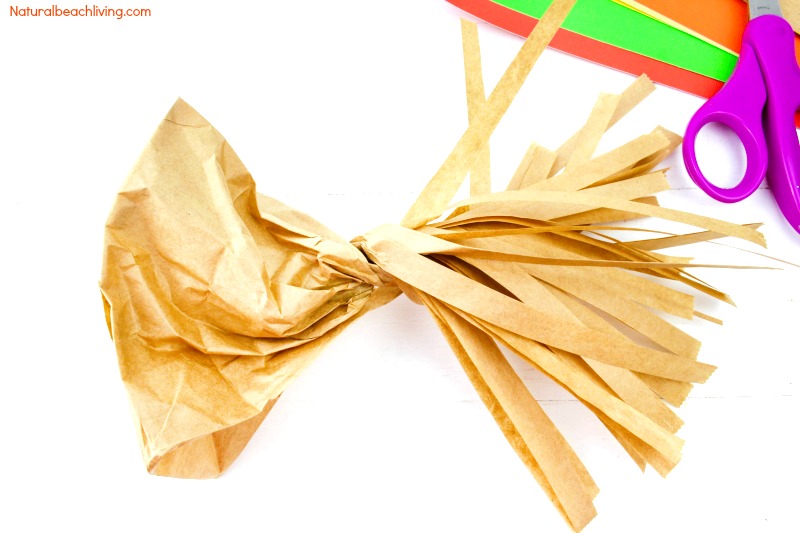
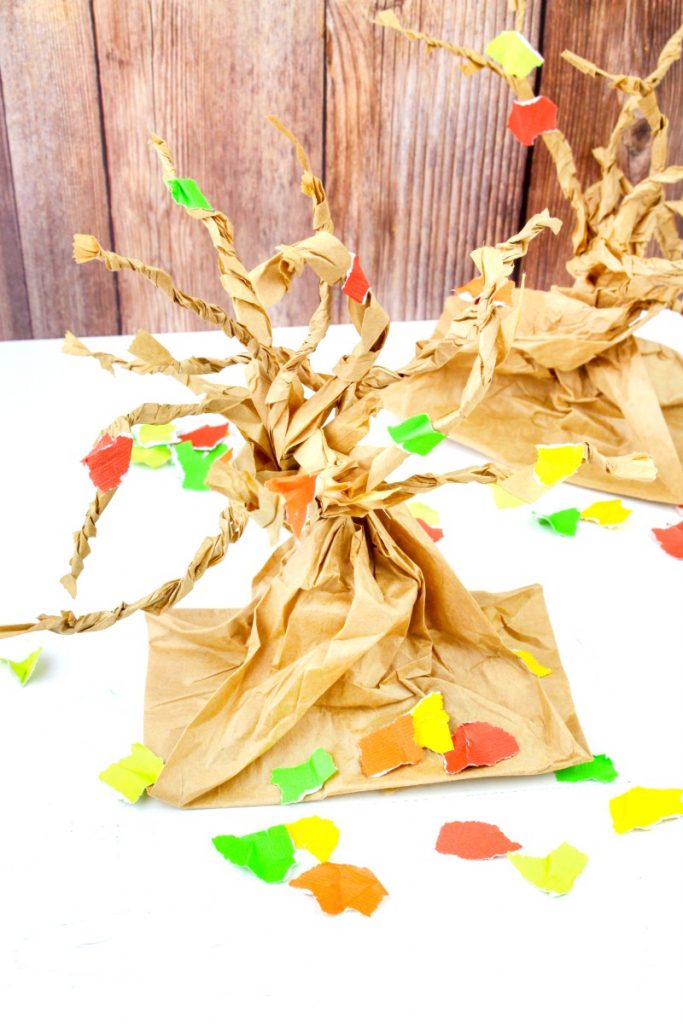
Leaving the bag flat, cut thin strips from the top of the bag down about halfway or a little past. Children can do this step, but it is nice if you are doing one with them or have an example ready to look at. This way they don’t just randomly cut pieces. Each bag should have about 12-14 strips.
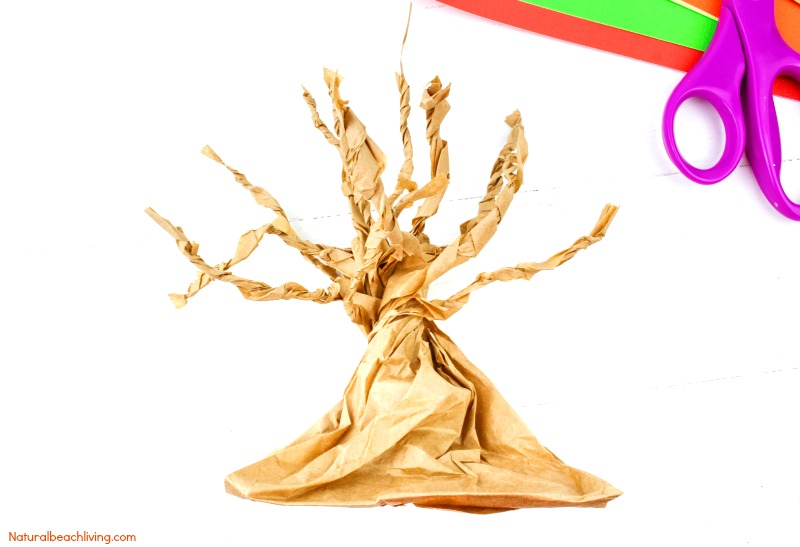
Open the bag then twist it where the bottom of the cut strips meet the uncut part of the bag so that you will be making a trunk.
Now take 2-3 strips of the bag at a time and twist them together tightly, these will be the branches of the tree. Isn’t it looking great already?
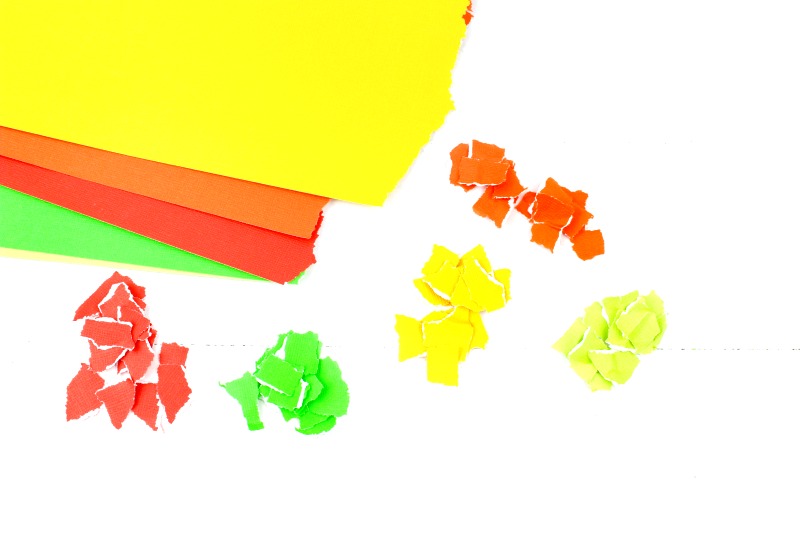
Next, have the children tear little pieces of the colored paper for the fall leaves. Tearing paper is a great fine motor activity for toddlers and preschoolers.
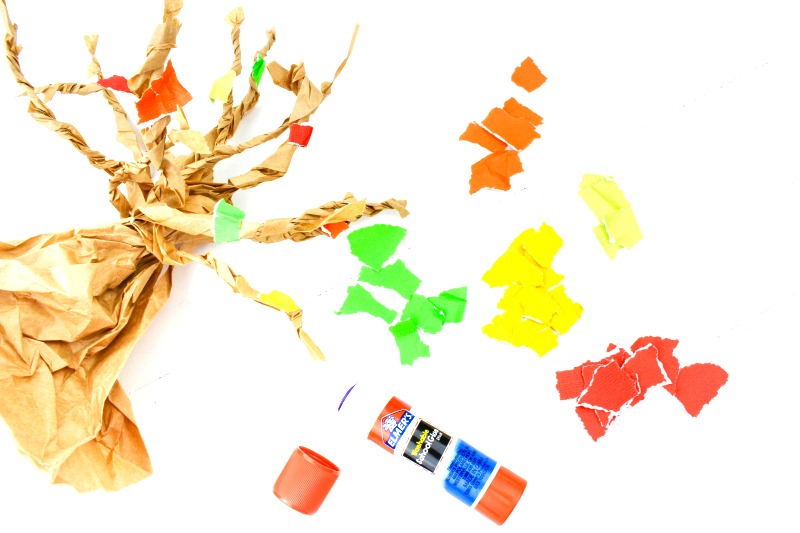
Glue a few leaves on each tree and sprinkle the rest at the base of the trees to resemble the leaves have fallen off the tree.
Fall Crafts for Kids
This is an easy fall paper bag craft for kids. Don’t you think your kids will love it?
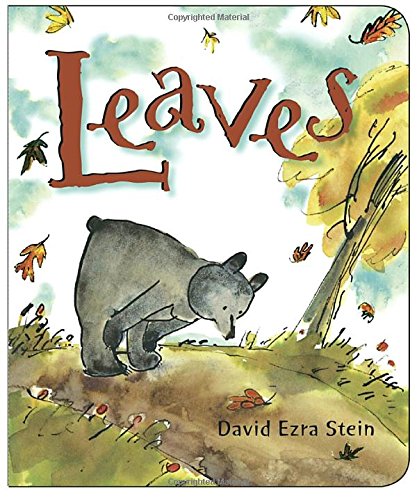
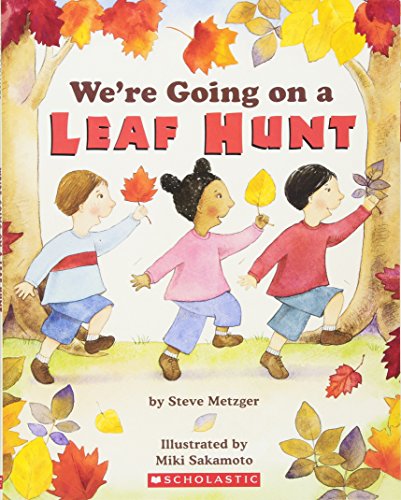
Fall Books for Kids
Fall Crafts for Preschoolers
Fall Tree Craft – Paper Bag Crafts Kids Make
What’s Needed
- 2 Brown Paper Lunch Bags
- Colored Paper—Orange, Red, Green, Yellow
- Scissors
- Elmer’s Glue Stick
Directions
1. Leaving the bag flat, cut thin strips from the top of the bag down about halfway or a little past. Each bag should have about 12-14 strips.
2. Open the bag then twist it where the bottom of the cut strips meet the uncut part of the bag so that you will make a trunk.
3. Now take 2-3 strips at a time and twist together tightly, these will be the branches of the tree.
4. Have the children tear little pieces of the colored paper for the leaves.
5. Glue a few leaves on each tree and sprinkle the rest at the base of the trees to resemble the leaves have fallen off the tree.
Fun and easy fall tree paper bag craft project.
Pin This Easy Fall Tree Craft to Save for Later
YOU ARE ALSO GOING TO LOVE:
Studies have shown that if you like this, you will also love the following articles. I have pulled them together for you right here!


