DIY Crystal Snowflake Ornaments – Winter Science for Kids
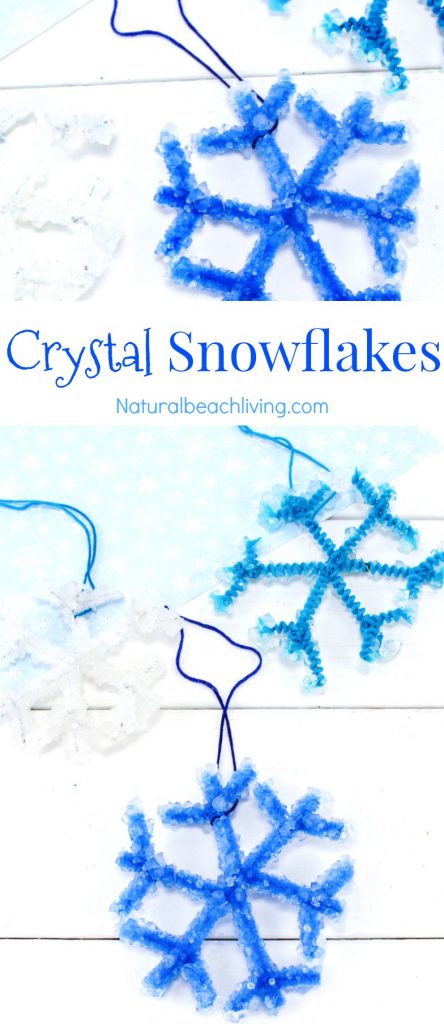
Snowflakes are so beautiful and fascinating. Every winter, the kids wait patiently for the first snowfall so they can run and play in the snow. If they are lucky, they can put out their hands or tongues to catch the fallen snowflakes. It’s the best! But the little sparkly snow flurries don’t last long, so to bring a little bit of winter goodness inside, you can easily make Crystal Snowflake Ornaments. These beautiful borax crystal snowflakes are a great winter science experiment. Plus, they are so much fun to make.
Easy Snowflake Crystals
DIY Crystal Snowflake Ornaments – Science Activities for Kids
Crystal snowflakes make for such a fun winter science experiment for kids. And you can grow crystal snowflake ornaments with just a few simple ingredients and a handful of pipe cleaners! Let’s get started.
Borax Crystal Snowflakes
Easy DIY Crystal Snowflake Ornaments: An Educational Activity for the Whole Family or Classroom
As winter slowly creeps in, there’s nothing quite like the cozy feeling of staying indoors and watching the snowflakes dance outside. But this year, you can bring a little bit of winter into your own home! Creating these beautiful glittery crystal snowflake ornaments with your family is an excellent activity to do together that’s both fun and educational.
You’d be surprised at how easy it is to make unique decorations for your tree or maybe even as special home-made presents – all from one simple household item. In this blog post, I’ll share some step-by-step instructions to help you create gorgeous DIY crystal snowflakes for yourself and explore what makes them so mesmerizingly sparkly!
what a crystal snowflake is and why they are special
Crystal snowflakes are a unique and beautiful phenomenon that has captivated the imaginations of people around the world. These awe-inspiring structures form when water droplets in low temperatures freeze onto the tips of tree branches, creating intricate and delicate snowflakes.
Every single crystal snowflake is one-of-a-kind and carries its own special story. It is almost impossible to replicate these natural occurrences. However, you can make your version of a crystal snowflake from home with some simple supplies.
DIY Crystal Snowflakes
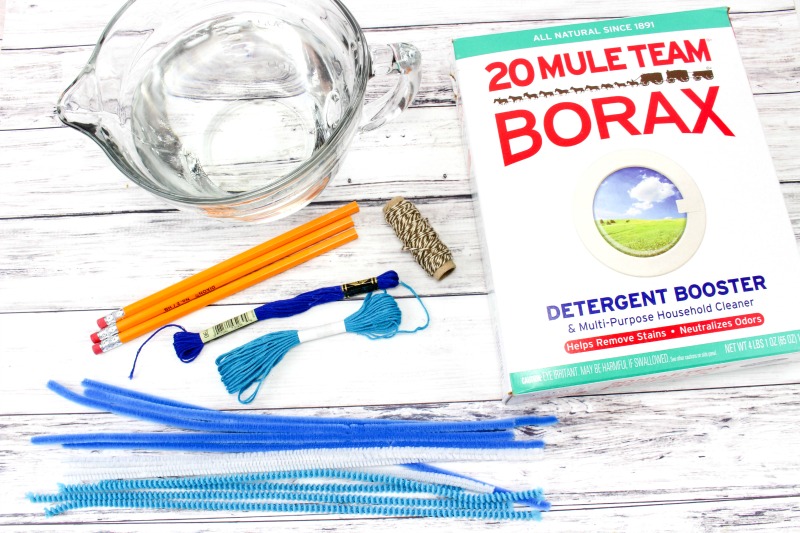
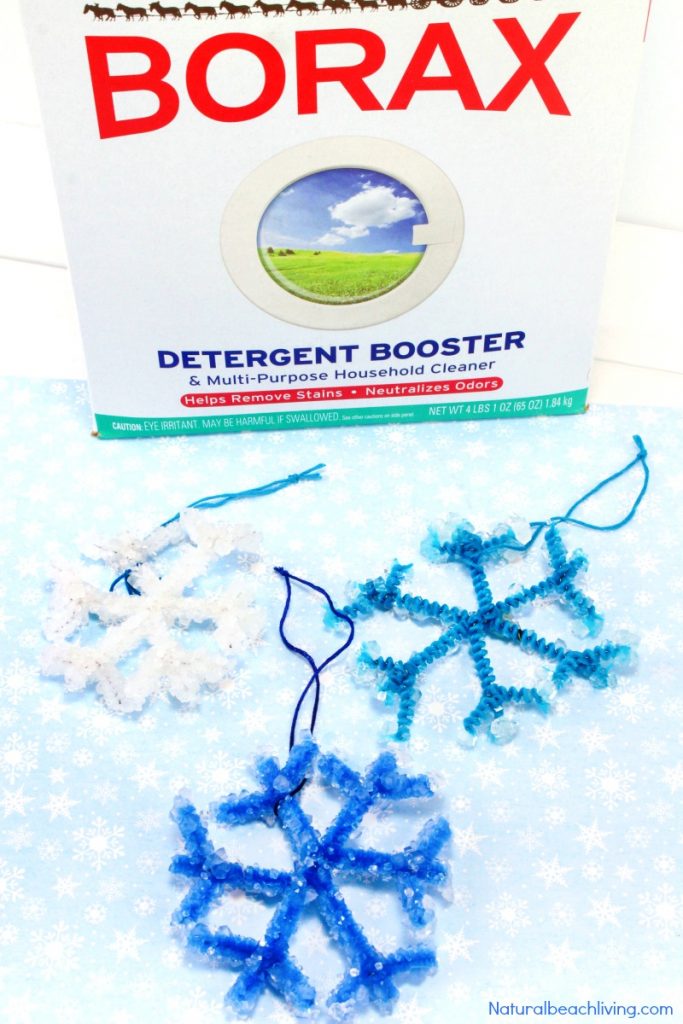
What you will need to make your Snowflake Crystals is in this picture below. However, I have it displayed in list form towards the bottom of the page. Have fun!
Gathering Supplies and Setting Up a Work Area
The first step of any successful project is to gather the necessary supplies and set up your work area. Gather all the materials you will need ahead of time so that you are not forced to search for them in the middle of a project. When setting up your workspace, keep in mind how much room you will need for each item and how comfortable it is to work in that space.
Make sure there is adequate lighting and ventilation, as well as a flat surface to work on. Once these factors have been taken into consideration, organize the supplies in an orderly fashion so that they remain accessible when needed. To ensure the best working environment possible, remove any unnecessary items from the area such as clutter or electronics.
Setting up an organized and comfortable workspace will help you focus and make it easier to complete your project with great results!
How to Make Crystal Snowflake Ornaments
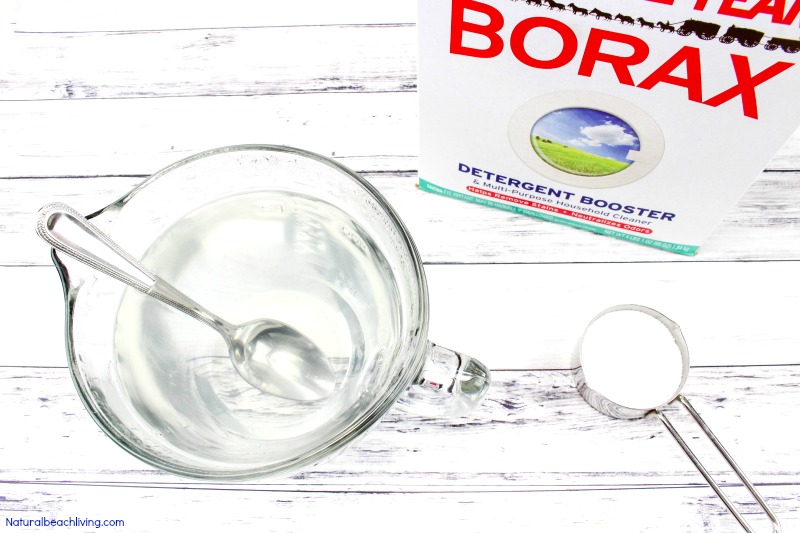
Start by boiling 4 cups of water and pour it into a large glass measuring cup or bowl. Mix in the borax until it’s dissolved. Make sure the glass container is deep and wide enough so the snowflakes won’t touch the bottom or each other.
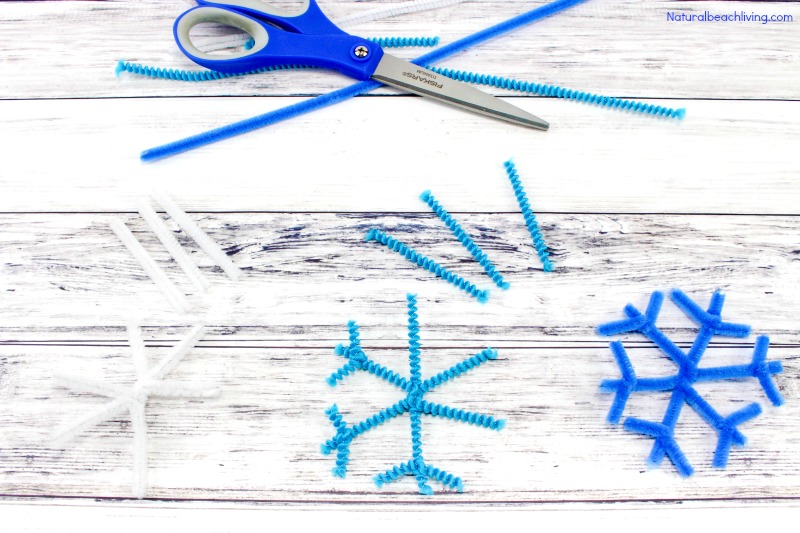
To make the snowflakes: Cut 3 pieces of pipe cleaner 3-inches long. Cut 6 pieces about 2-inches long. Twist the 3 longer pieces together at the center so you have 6 arms sticking out evenly spaced.
Take one of the smaller pieces and twist it around the end of one of the arms, so each end sticks out. Repeat that using the other 5 pieces. It should look like a snowflake when you are done.
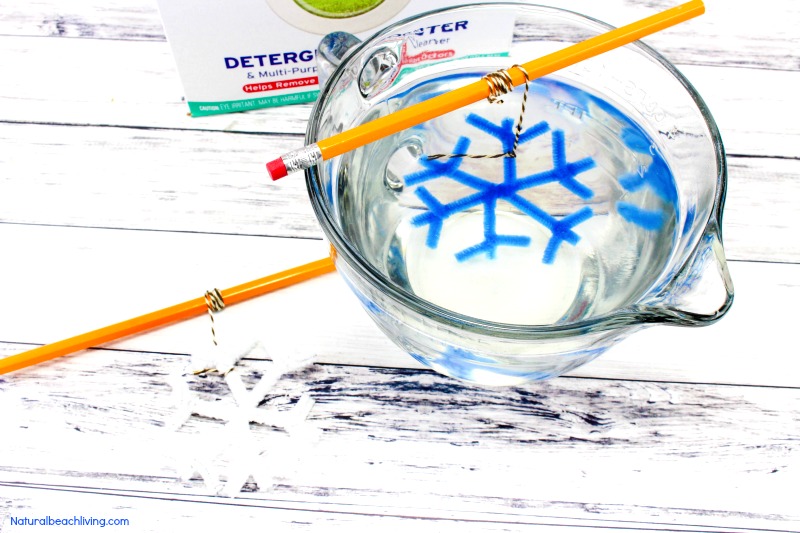
Now, tie a piece of string loosely to the end of one snowflake arm on each snowflake. Wrap the other ends of each string around each one of the pencils or wooden spoons, so the snowflakes are hanging about 2 inches from the pencils.
Set the pencils on top of your glass container and dangle the snowflakes into the borax water. Make sure they are fully submerged in the water and that they don’t touch each other or the sides of the container (a little bit is ok).
Snowflake Science Experiment
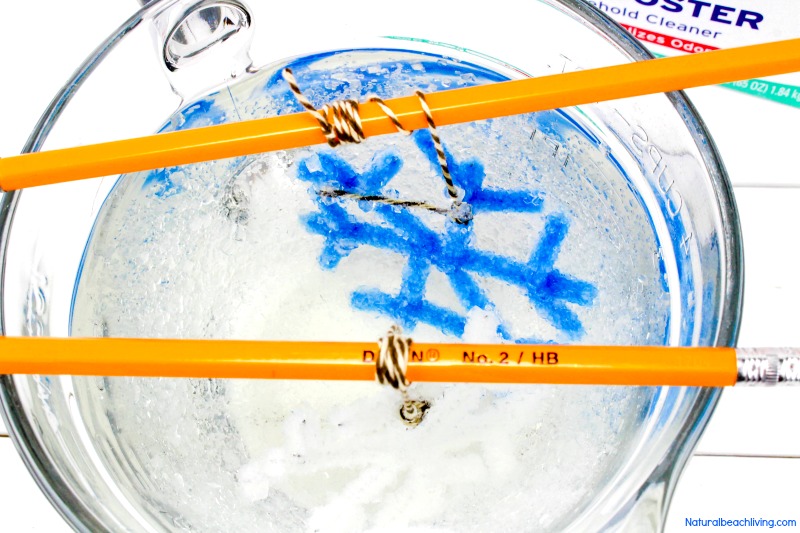
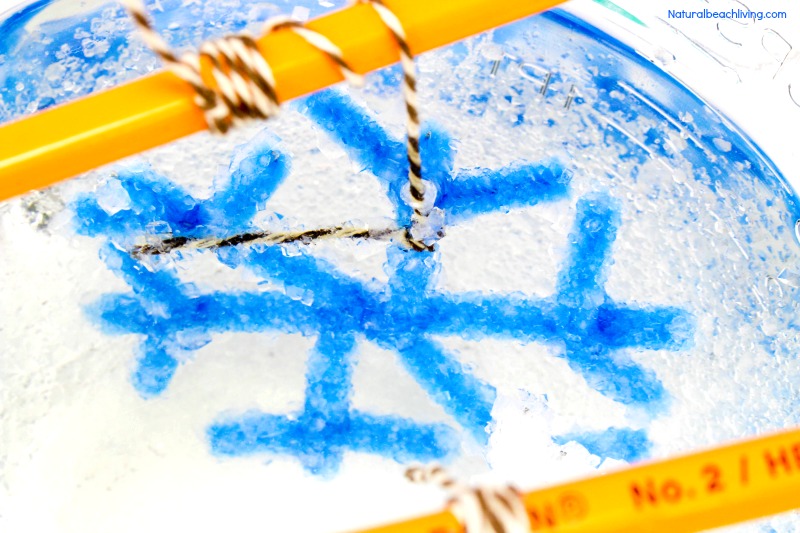
Leave it in the borax solution overnight so the crystals will grow on the pipe cleaners.
Snowflake Science for Kids
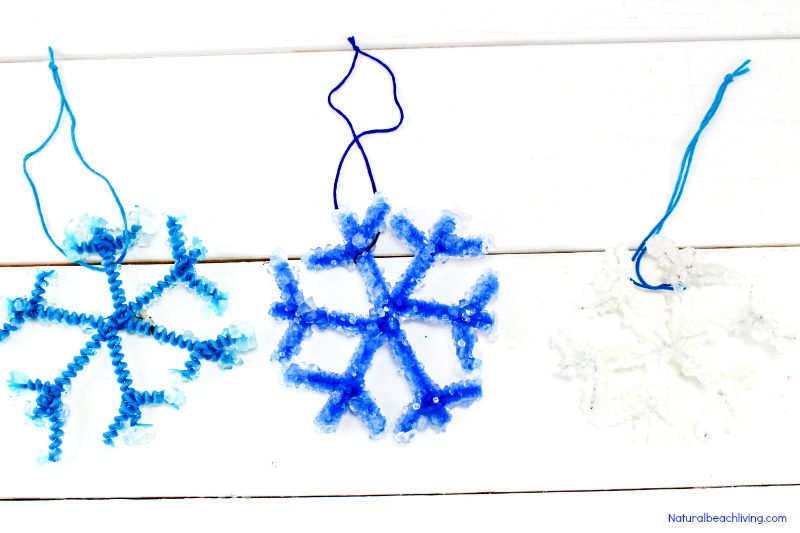
Remove your snowflakes from the water when they are full of crystals. Cut off the strings from the pencils and lay the snowflakes on paper towels to dry.
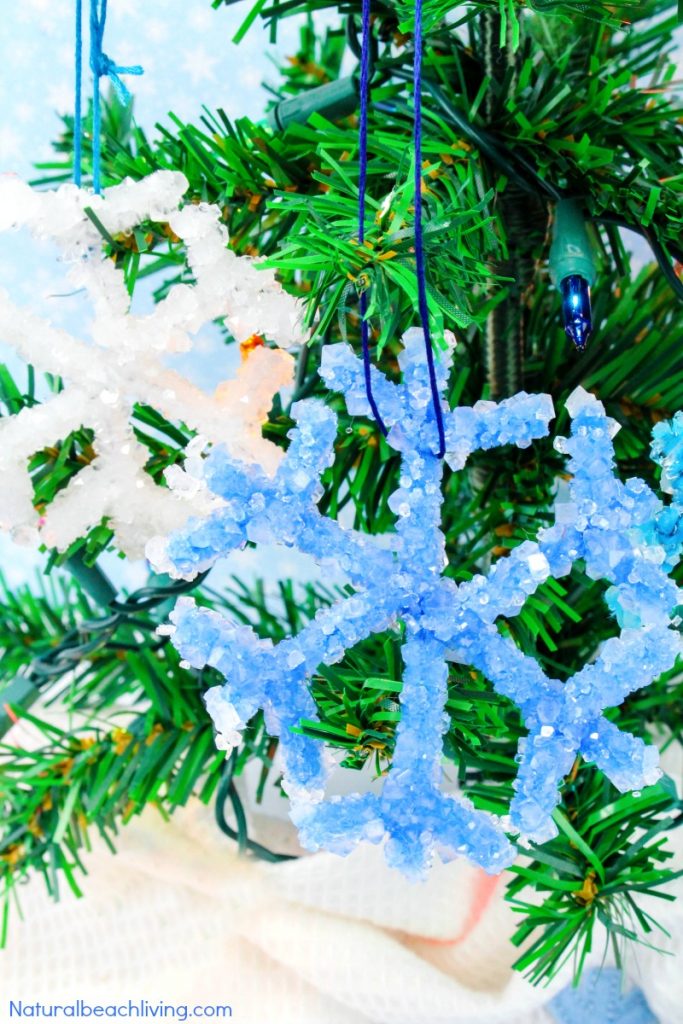
Tie a new piece of string on each crystal snowflake ornament for your hanger and hang them on a tree, or nature table or use them for a window decoration.
Easy Borax Snowflake Crystals
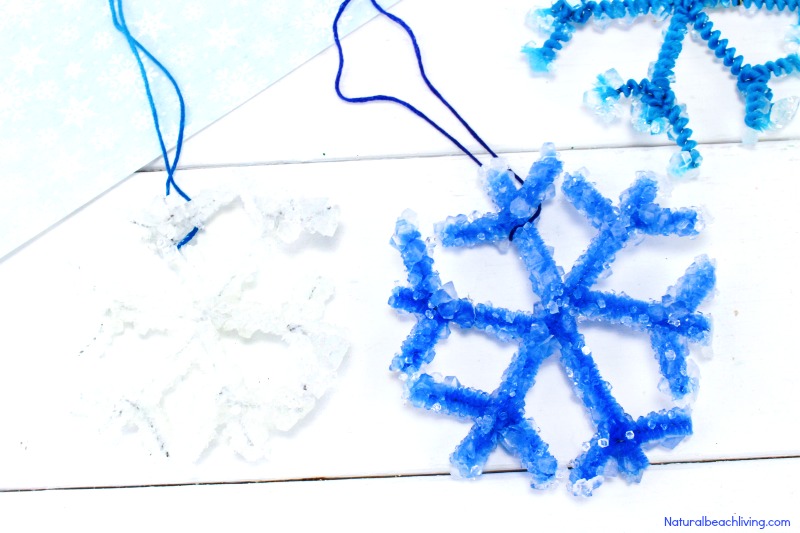
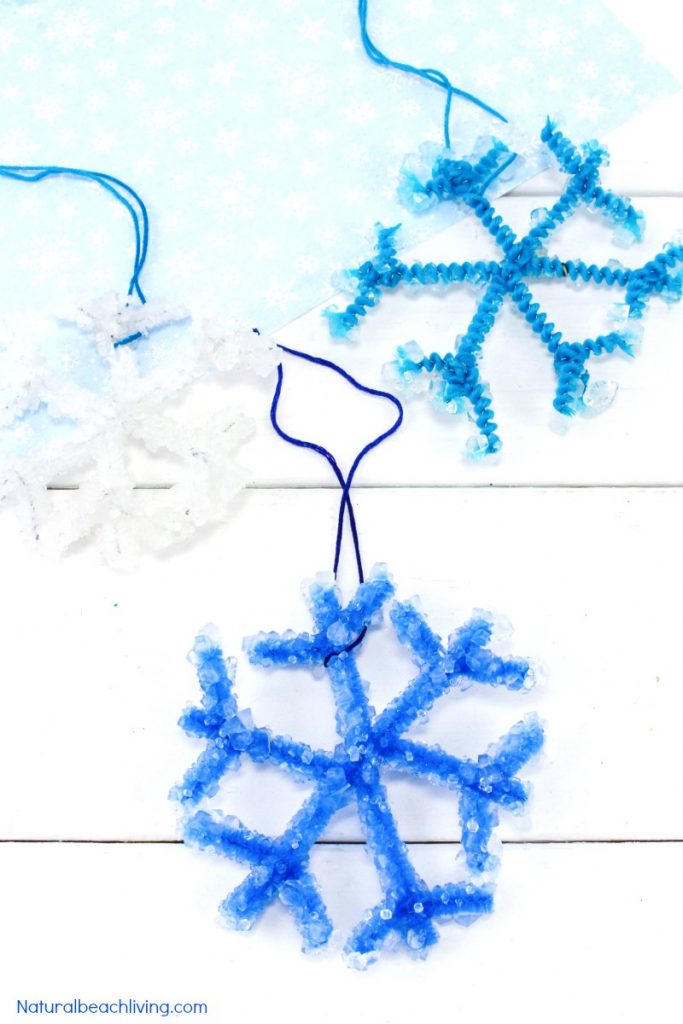
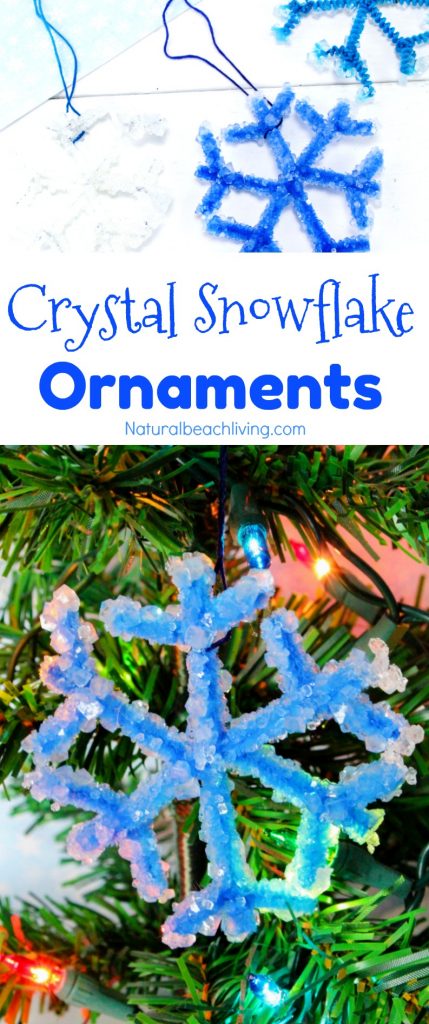
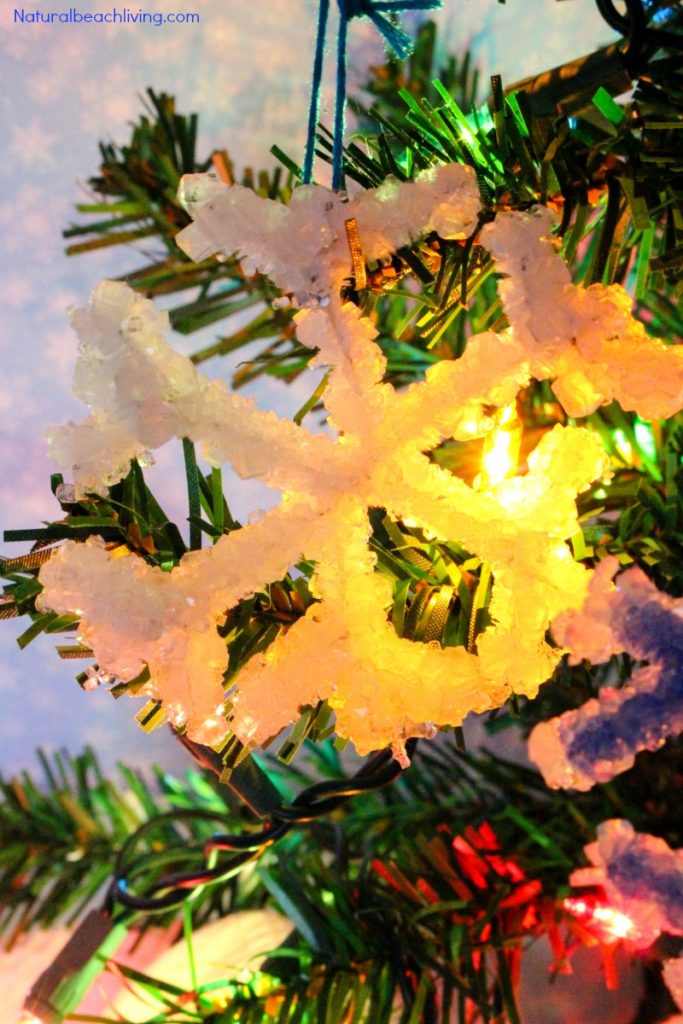
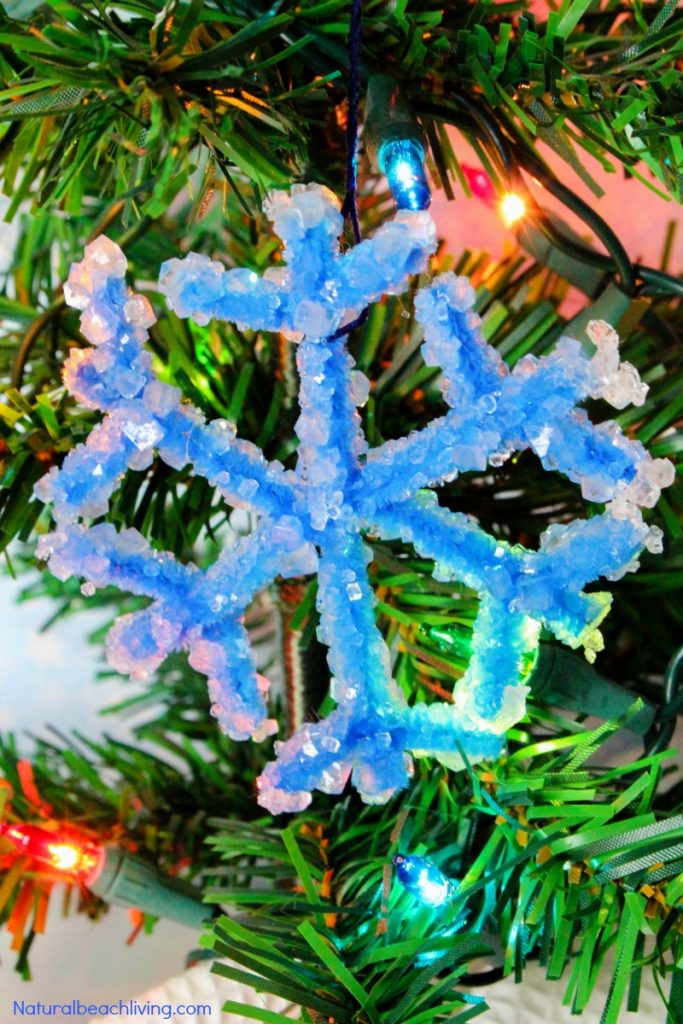
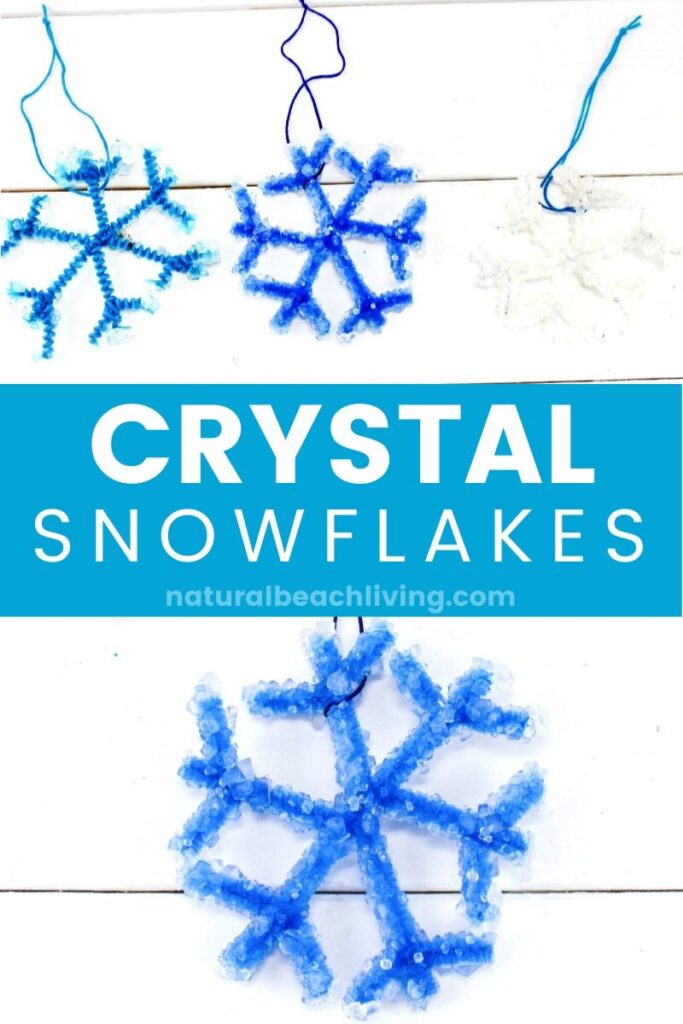
Aren’t they beautiful?! We have done this science experiment – winter craft at least 3 times, and every time we do it, the snowflake crystals come out different, and the kids love it.
These Make Great Homemade Christmas Ornaments – Crystal Snowflake Ornaments
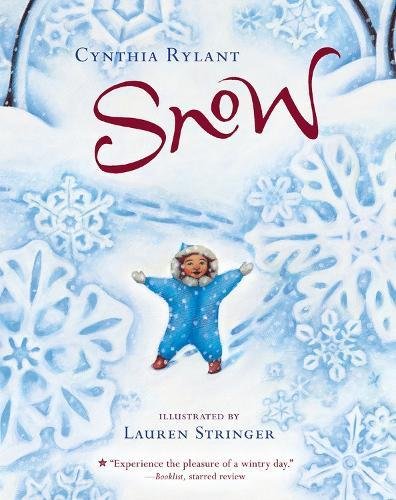
Snow Books for Kids
Crystal Snowflake Ornaments
Make DIY Borax Crystal Snowflakes
Making DIY Borax Crystal Snowflakes is a fun and easy activity that you can do with your family and friends or even on your own. It’s a great way to spend time together during the winter season, as it allows everyone to get creative and have fun while making something unique! The process is simple and doesn’t require any special tools or materials.
You can then let them dry off before displaying them on your Christmas tree, on your windows, or anywhere else in your home. Enjoy admiring your beautiful creations!
Making DIYBorax Crystal Snowflakes is an enjoyable wintertime activity that anyone can do! It’s simple enough for children but interesting enough to keep adults entertained, too; plus, it makes for a great conversation starter when guests come over during the holidays. So why not give it a try? You may just find yourself addicted to this exciting craft!
Make Borax Snowflake Crystals
What’s Needed
- ¾ cup Borax
- 4 cups Boiling Water
- 3 Pencils
- String
- 9 Pipe Cleaners, white and blue
Directions
1. Boil 4 cups of water and pour into a glass measuring cup or bowl. Mix in the borax until it’s dissolved. Make sure the glass container is deep and wide enough so the snowflakes won’t touch the bottom or each other.
2. To make one snowflake: Cut 3 pieces of pipe cleaner 3-inches long. Cut 6 pieces about 2-inches long. Twist the 3 longer pieces at the center so you have 6 arms sticking out evenly spaced. Take one of the smaller pieces and twist it around the end of one of the arms, so each end sticks out. Repeat that using the other 5 pieces. It should look like a snowflake now.
3. Repeat step 2 for the other 2 snowflakes.
4. Now, tie a piece of string loosely to the end of one snowflake arm on each snowflake. Wrap the other ends of each string around each one of the pencils so the snowflakes are hanging about 2 inches from the pencils.
5. Set the pencils on top of your glass container and dangle the snowflakes into the borax water. Make sure they are fully submerged in the water and that they don’t touch each other or the sides of the container (a little bit is ok).
6. Leave it in the borax solution overnight so the crystals will grow on the pipe cleaners.
7. Remove them from the water when they are full of crystals. Cut off the strings from the pencils and lay the snowflakes on paper towels. Tie a new piece of string on each snowflake for your hanger and hang on the tree or use it for any craft.
Fun Science experiment and holiday craft for the kids!
Crystal Snowflake Ornaments
Winter Activities
Studies have shown that if you like this, you will also love the following articles. I have pulled them together for you right here!
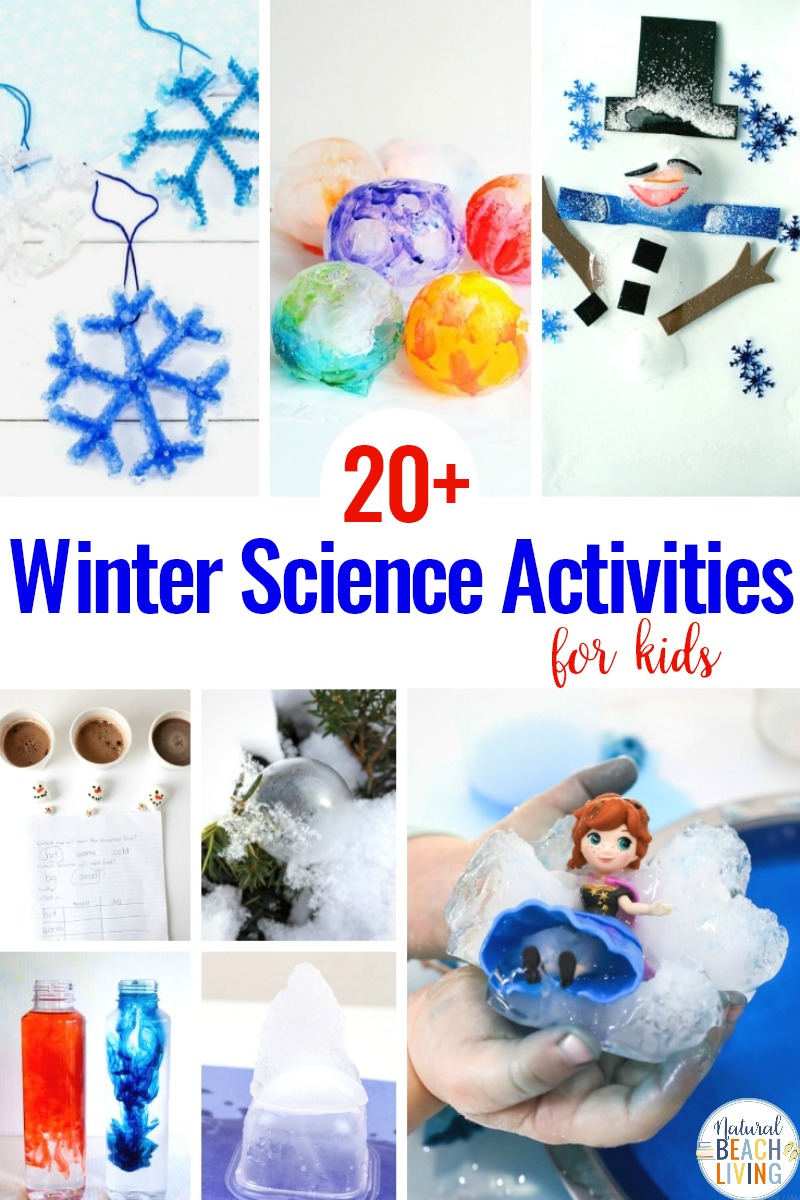
25 Winter Science Activities for Kids
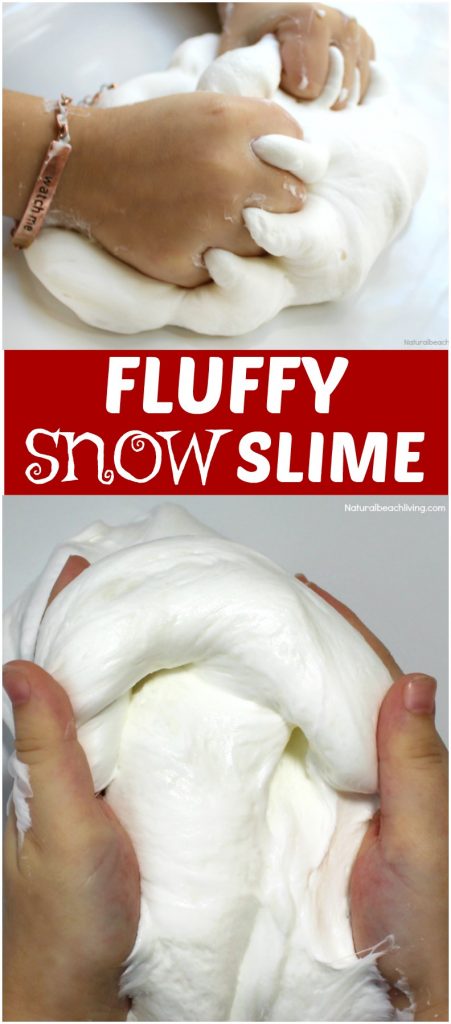
The Best Super Fluffy Snow Slime Recipe
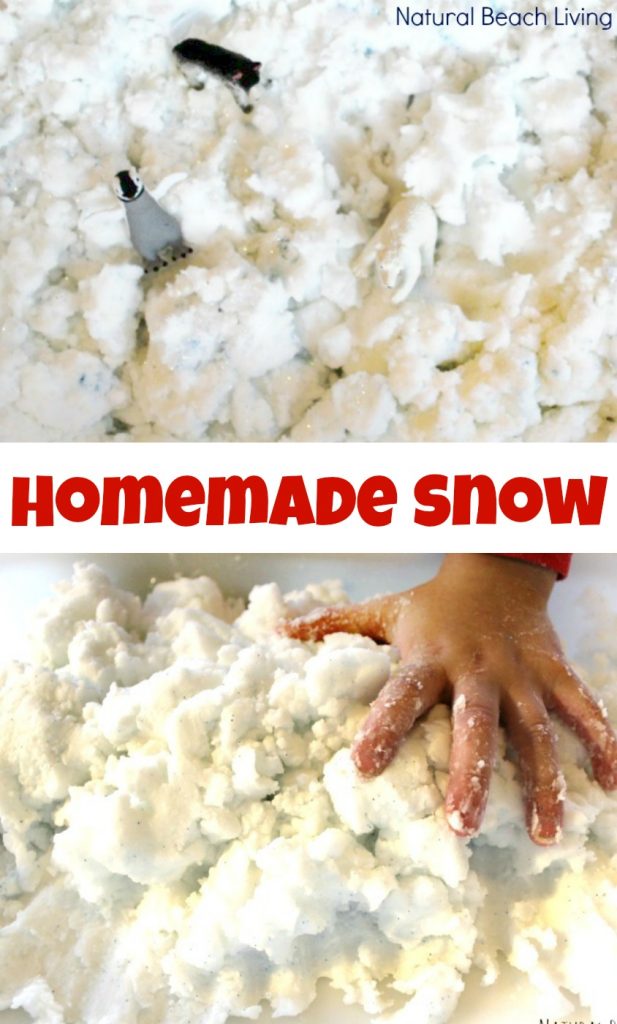
Easy to Make The Best Homemade Snow Dough
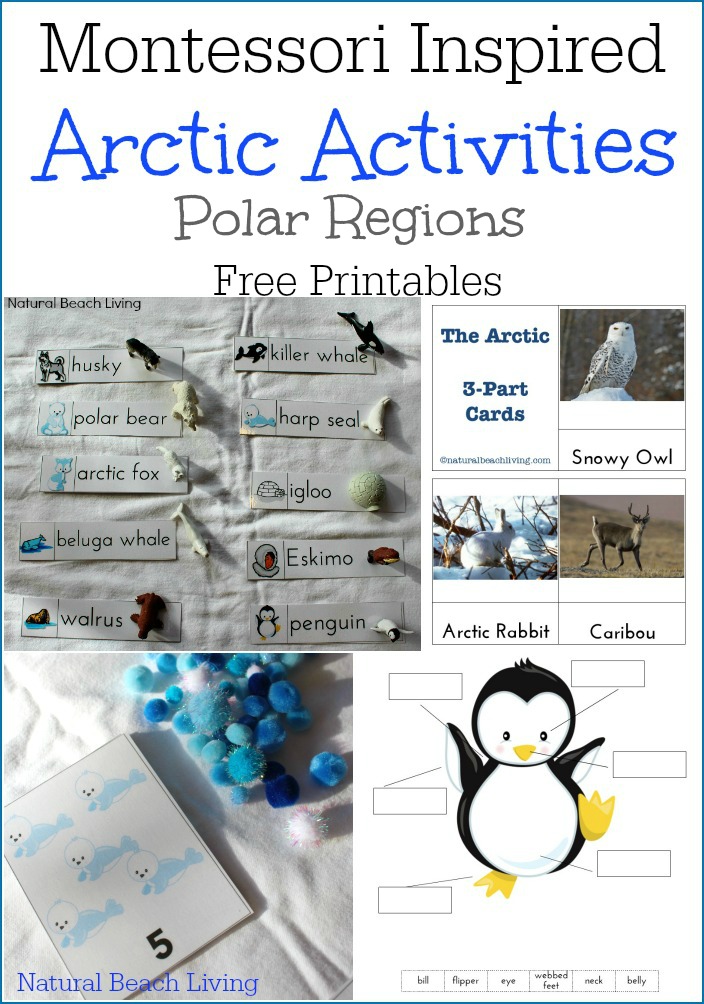
Montessori Arctic Activities ~Polar Regions (Free Printables)
Find all of the Snow Themed Ideas Here
Find all of the Handmade Ornaments Here
Crystal Snowflake Ornaments Recipe
Easy Winter Science Crystal Snowflakes Ornaments
- ¾ cup Borax
- 4 cups Boiling Water
- 3 Pencils
- String
- 9 Pipe Cleaners white and blue
-
Boil 4 cups of water and pour into a glass measuring cup or bowl. Mix in the borax until it’s dissolved. Make sure the glass container is deep and wide enough so the snowflakes won’t touch the bottom or each other.
-
To make one snowflake: Cut 3 pieces of pipe cleaner 3-inches long. Cut 6 pieces about 2-inches long. Twist the 3 longer pieces together at the center so you have 6 arms sticking out evenly spaced. Take one of the smaller pieces and twist it around the end of one of the arms, so each end sticks out. Repeat that using the other 5 pieces. It should look like a snowflake now.
-
Repeat step 2 for the other 2 snowflakes.
-
Now tie a piece of string loosely to the end of one snowflake arm on each snowflake. Wrap the other ends of each string around each one of the pencils, so the snowflakes are hanging about 2 inches from the pencils.
-
Set the pencils on top of your glass container and dangle the snowflakes down into the borax water. Make sure they are fully submerged in the water and that they don’t touch each other or the sides of the container (a little bit is ok).
-
Leave it in the borax solution overnight so the crystals will grow on the pipe cleaners.
-
Remove them from the water when they are full of crystals. Cut off the strings from the pencils and lay the snowflakes on paper towels. Tie a new piece of string on each snowflake for your hanger and hang on the tree or use for any craft.
-
Fun Science experiment and holiday craft for the kids!


