DIY Outdoor Play Area for Kids
The weather is getting warm and we are all spending a lot more time outside at home. It’s the perfect time to create a backyard play space! Creating a DIY Outdoor play area for children can be a fun way to encourage your kids to spend more time outside, enjoying nature, and soaking up the sunshine.
Outdoor play helps kids develop physically, use their imaginations, and learn to appreciate the natural world.
Kids Backyard Ideas
DIY Outdoor Play Area
Today, let’s talk about how to create easy backyard play areas on a budget that is lots of fun without lots of costs. Keep reading to check out our DIY science table mud kitchen and kids’ play spaces, learn how to use recycled materials for play, and explore creating a natural play space.
Building an Outdoor Play Space
The Rules for Building an Outdoor Play Space
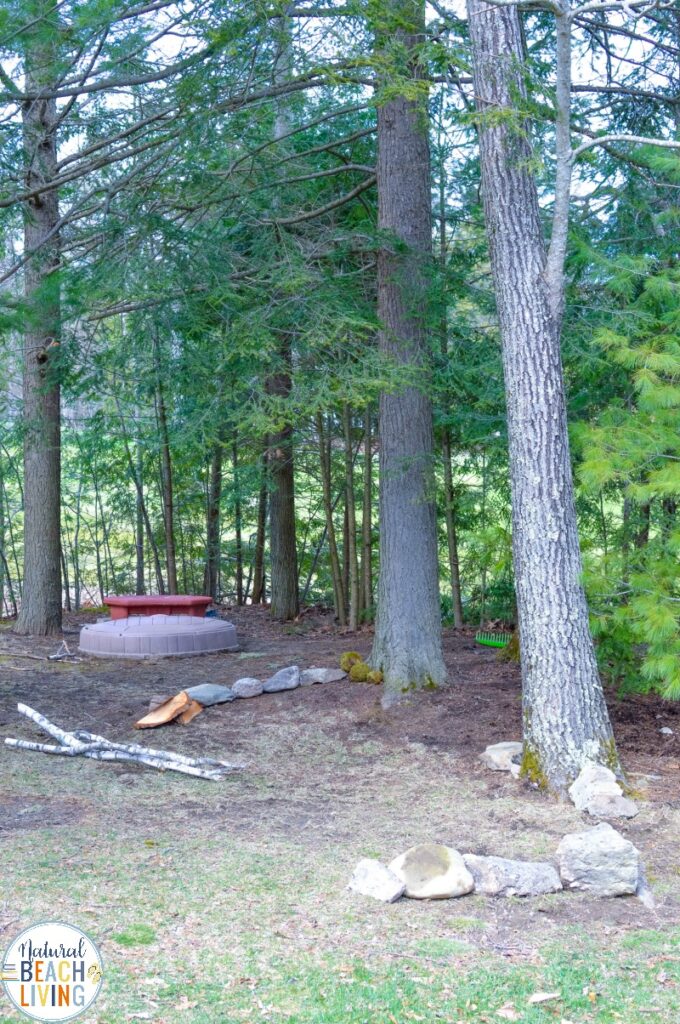
There really aren’t many rules for creating a space your kids can explore, get active, and enjoy the great outdoors. For the most part, all that is required is dirt, plants, sunshine or rain, and imagination!
Have you heard the story about the family that spent lots of money, time, and resources building an elaborate play structure in their backyard? During construction, a large mound of dirt was created. And the kids loved playing in the dirt pile!
Even after the play structure was completed, all the kids still wanted to do was play in the dirt.
I think the lesson is that you don’t need to spend a lot of money or create something fancy and elaborate for your kids to enjoy outside.
All that is really needed is a little dirt and a lot of imagination!
With that in mind, keep scrolling to check out our DIY Outdoor Science Table created mostly with leftover material in the back yard.
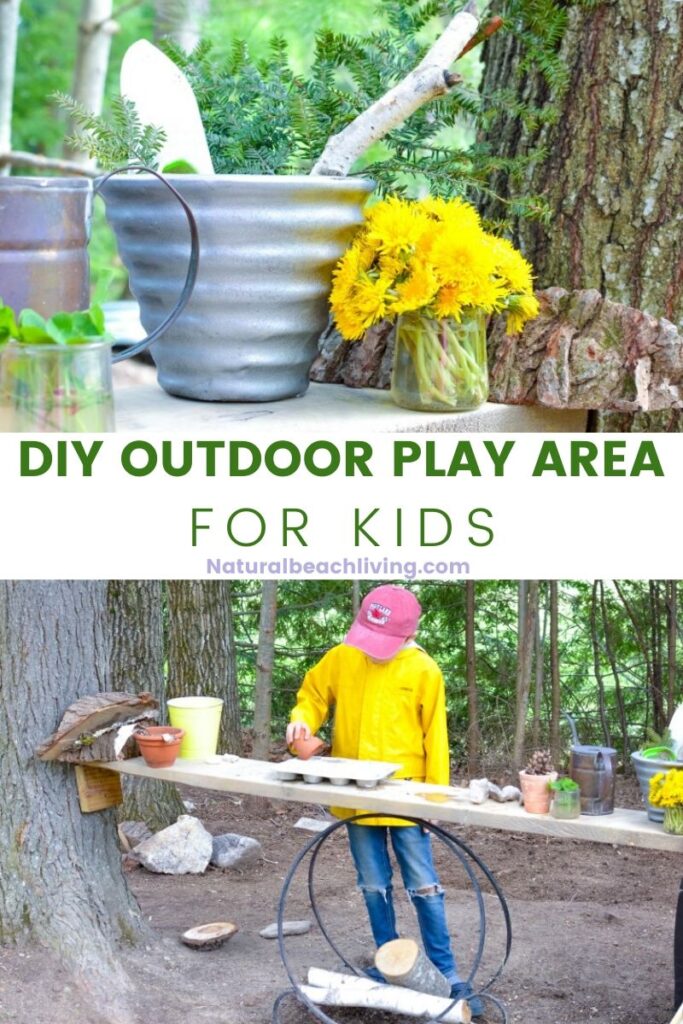
DIY Mud Kitchen
A mud kitchen is an outdoor play area that’s perfect for aspiring chefs! I have fond memories of creating mud pies in the yard as a child! You can relive those messy memories with your kids with a DIY mud kitchen in the backyard.
It can be as simple or fancy as you want it to be. In fact, it’s the perfect time to get the kids involved. You might be surprised by some of their ideas about kitchen essentials! In the end, you’ll have the perfect space for creating dirt based dishes.
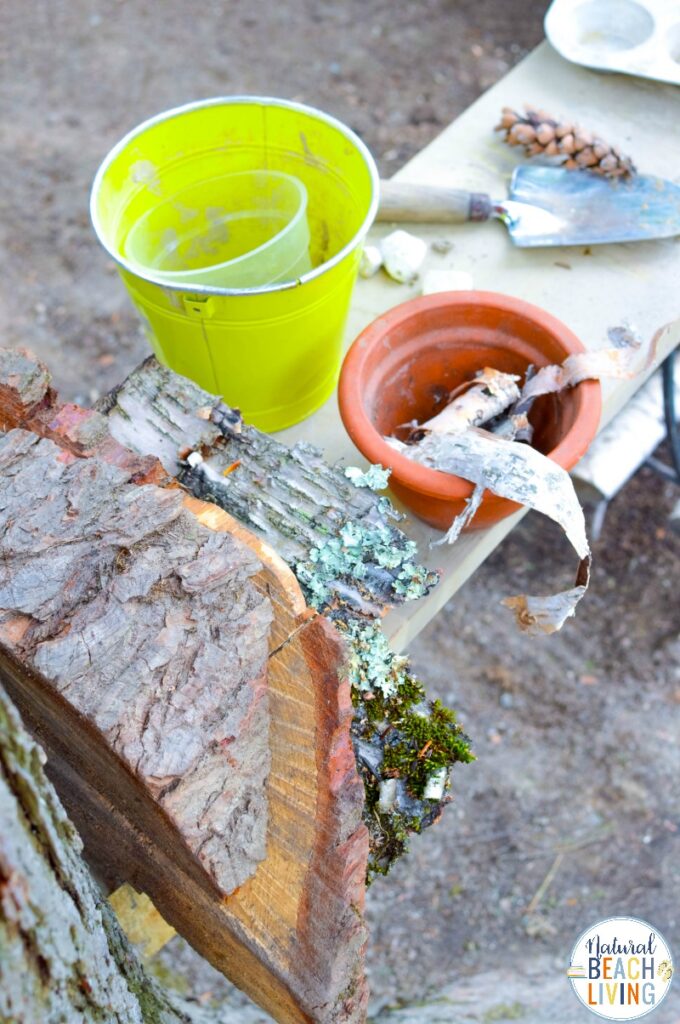
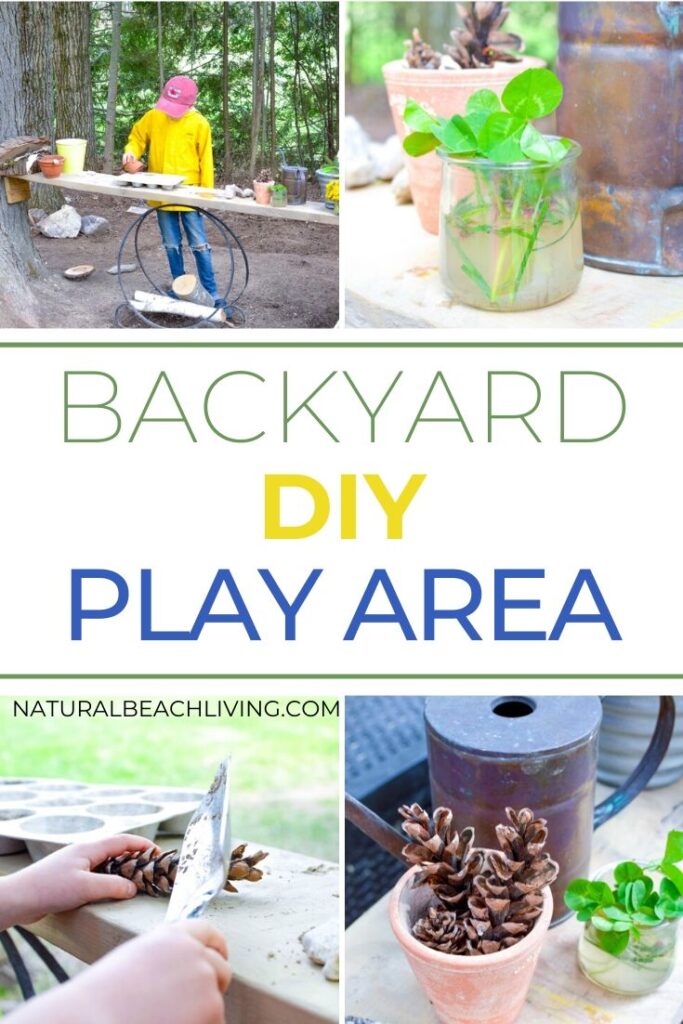
For our DIY mud kitchen it’s actually more of an exploration table (in my mind), we used mostly recycled and found materials that kept costs low. As an added bonus, we all had fun rifling through forgotten items for the perfect kitchen utensils! Empty glass jars, my old muffin tin, and leftover boards were given new life in our outdoor play kitchen.
Mud kitchens are perfect for kids of all ages, even children as young as one can have fun creating messy dishes. It’s the perfect way to get creative outside while exploring with imagination and sensory play together.
Outdoor Science Table
Enjoy outdoor STEM and STEAM activities with an easy to create DIY Science Table.
Not sure what to make or add?
Use old kitchen utensils, pots, jars, and pans or dishes combined with magnifying glasses, tools, dirt and water to create your own exploration area.
Then, decorate together with pebbles, grass, flowers, and seeds.
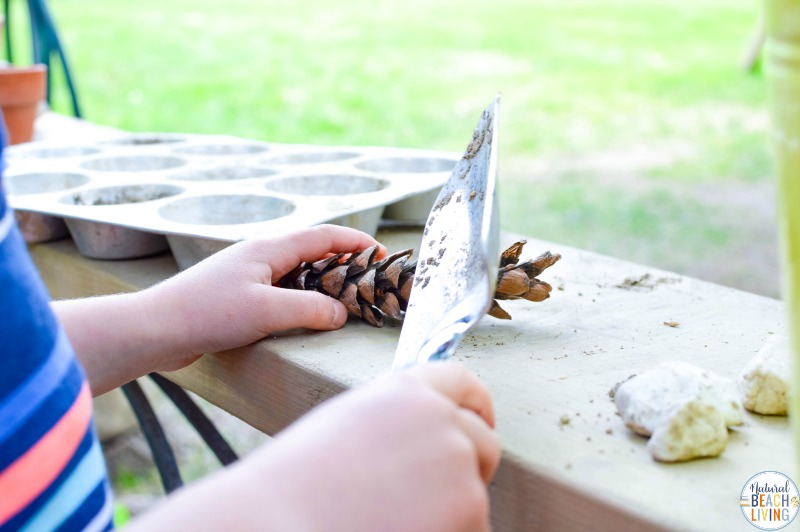
Another fun idea is to create some “mud recipe” cards for your kiddos. We invented a recipe for “mud tea” with water and wildflowers from our yard. Then, we created “mud potatoes” with pebbles coated in mud. Writing down these mud pie recipes for your children will add a fun element to your DIY mud kitchen and create a cherished memory for you later. Just don’t forget to laminate them or your recipe cards might end up as an ingredient in the next mud cake!
Recycled Obstacle Course
Did you know you can create an obstacle course using only recycled materials? It’s easy and fun! A backyard obstacle course is a great way to encourage kids to be physically active outdoors this Summer.
Experts agree that at least one hour a day of physical activity is important for children’s developing muscles, motor skills, and reducing the risk of related conditions like heart disease, obesity, and diabetes. You can help your kids increase their physical activity by creating a fun obstacle course in the backyard for the family to enjoy.
Creating an obstacle course using recycled materials is budget-friendly and an excellent way to encourage children to recycle. You can use plastic bottles, cans, cardboard, wooden pallets, tape, and paint to create an epic obstacle course!
Easy DIY Outdoor Play Area
Pallets are perfect for creating obstacles for balancing. Recycled cardboard boxes can be used to create epic tunnels for your kids to navigate. Sidewalk chalk is the perfect way to add directional arrows to your course. Old tires are perfect for jumping through or rolling around. Finally, you can create a relay race using plastic bottles.
Another way for your kids to have fun with backyard play areas is to let them design it themselves! Simply provide the materials and see what they come up with.
Nature Exploration Play Space
DIY science tables, DIY backyard play areas, and natural outdoor obstacle courses are excellent ways to get outdoors and have fun using recycled or found materials.
However, if you’re interested in creating more natural play spaces for your children, there are lots of ways to do that too!
Spending time outside is the perfect way to encourage your children to explore the great outdoors and develop curiosity and wonder about the natural world. It’s a great opportunity to learn about your surroundings, the weather, and different seasons.
Send your kids outdoors with a copy of Lonely Planet for Kids’ Backyard Explorer, a butterfly net, or magnifying glass and see what they can find! You will be surprised by all the cool things they can find and the wonderful lessons it will lead to.
Here are just a few interesting things we have found:
- Mushrooms
- Pinecones
- Dandelions
- Cardinals
- Lizard
- Praying Mantis
- Ants
- Turtle
- Worms
Creating a natural play space using items you find in your own yard can be a lot of fun! Stumps make excellent seats for little explorers to use while they observe the natural world.
Leaves and twigs make great “boats” for floating in puddles or a small creek.
In fact for a truly creative natural play space, provide your child with some leaves, rocks, sand, and sticks in your play area. Then, sit back and watch as they create their own little world using what they’ve been given. It’s the perfect way to let your kids explore as their imaginations run wild!
How to Make a Natural Backyard Play Area for Kids
Here are the exact steps we took for our outdoor play area. We have also added a huge sand area and hammock which I will add pictures soon. Feel free to print the directions below.

The steps and supplies for this project are all flexible based on the location you’ll be building the mud kitchen counter, the size you would like yours to be and the materials you have on hand. Below we’ll lay out how we made our exact setup. We used wood we happened to already have in the garage leftover from another project. This wood was not pressure treated, we were alright with that where there was no out of pocket expense for the project.
We started with a blank area in the backyard and quickly realized our children were most interested in using found items that were all around them in nature and mixing up fantastic mud cakes that were decorated with flowers and pinecones.
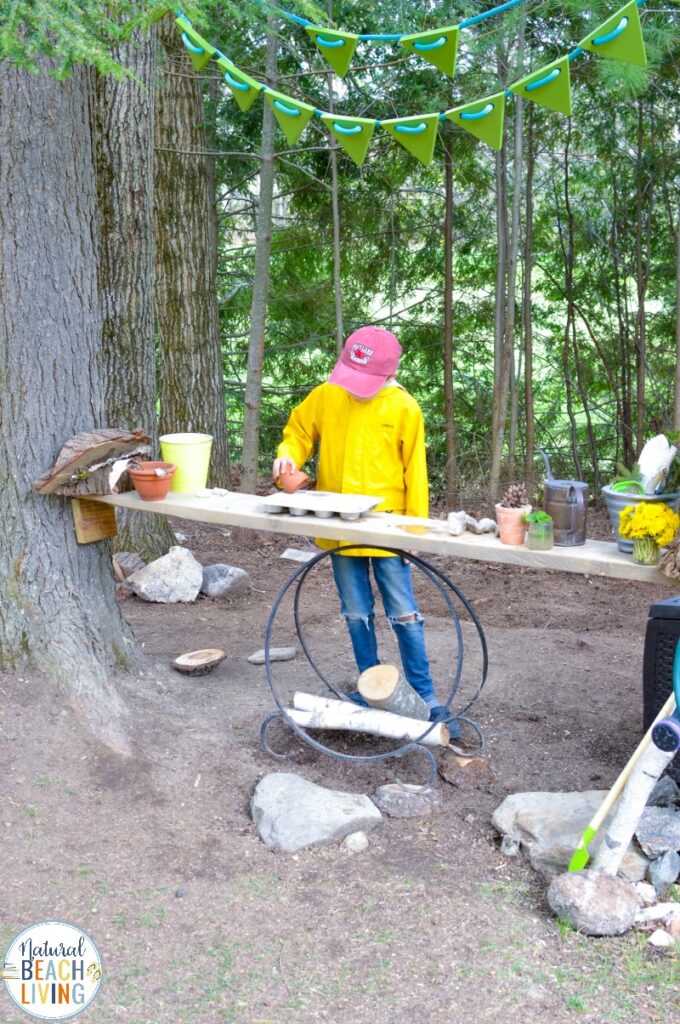
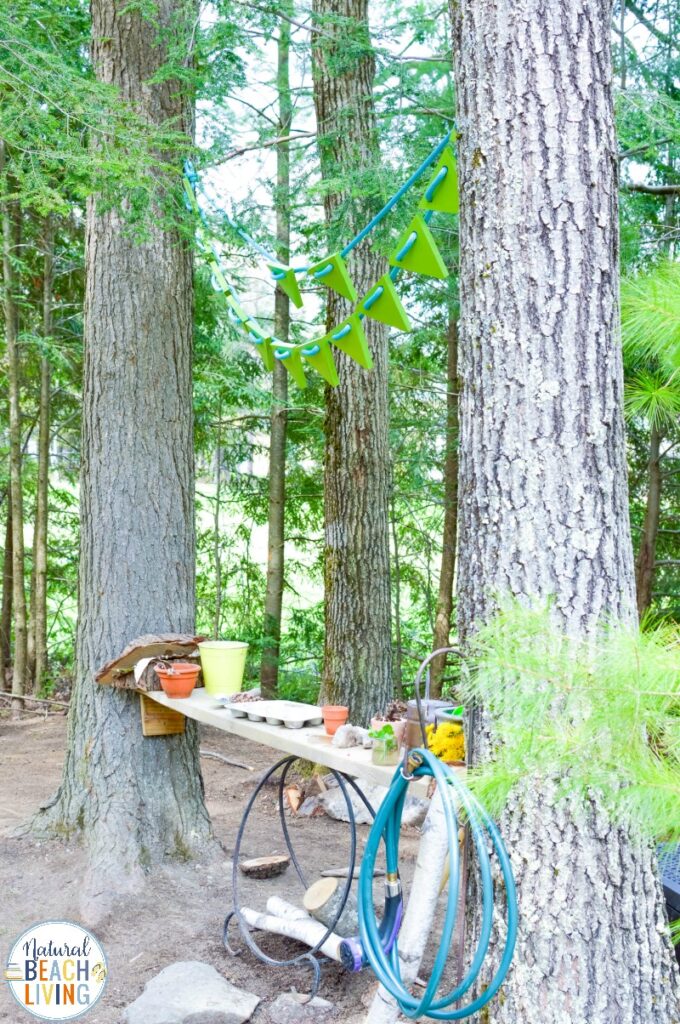
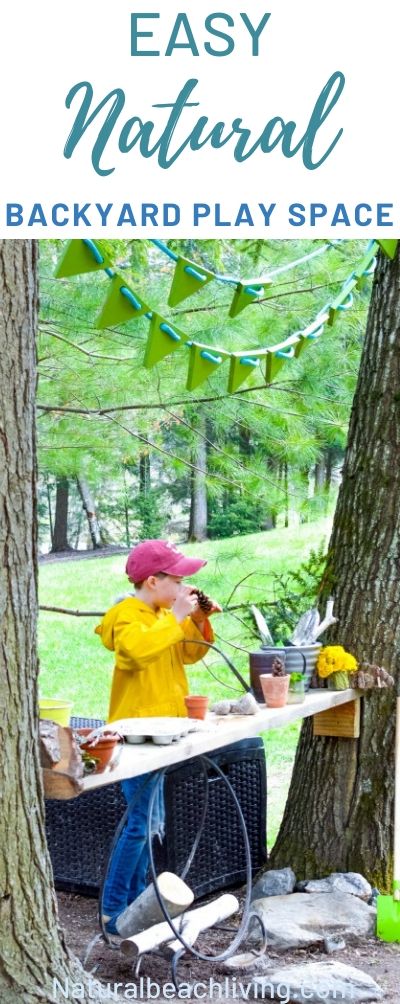
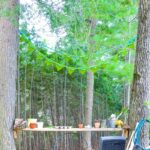
The DIY Science Table – Mud Kitchen was created with two large fir trees that were about 8 feet apart at the height we placed the counter.
Supplies for our exact project:
- 1 long board that was 8 feet long, 10 inches wide, 2 inches thick. It is important to use a thick and very sturdy board for the counter surface so it can easily hold the weight that will go on it without bowing.
- 2 boards that were about 10 inches long, 6 inches wide and 2 inches thick, these boards will help support and hold up the long counter board.
- 12 screws that are 3.5 to 4 inches long, ideally stainless steel or another metal that will not rust. That will allow you to easily adjust the height over time or remove it if needed.
Tools Needed:
- Level
- Screw gun with a bit that matches your screws.
- Saw to cut the boards to length if needed.
- Sandpaper
We did not need to drill pilot holes, but you may need to depending on the strength of your drill, the hardness of the wood and trees, etc
Grab yourself and your kids one of these Stanley Stainless Steel Insulated Tumblers and head outside for some fun!
DIY Outdoor Science Table for Kids
To install:
Measure the height you feel is the best height for your child or children, and think about finding a middle spot that works for as many as possible. Also, take into consideration how quickly children grow and plan for a little wiggle room so you hopefully won’t need to change the height next summer.
Sand the boards all down to ensure there are no splinters in the kitchen.
Measure and mark the trees for the two short boards that will hold and support the counter.
Add the boards one at a time and double check to make sure they are level – both on the tree AND with each other.
Rest the long counter board on top of the two mounted boards, again check that the counter is level, adjust one of the boards mounted to the trees if needed.
Screw the long counter board onto the two sort boards and/or into the tree.
That’s it! We spent way more time talking about the plans and choosing the trees than it took to mount the counter. Our children immediately brought over supplies and started playing and haven’t stopped!
They moved most of the items over from a smaller sandbox they had and then since then we have added a deck box to help store all of the supplies so they can tidy up at the end of projects, whether that is the same day or a few days later when working on a big project.
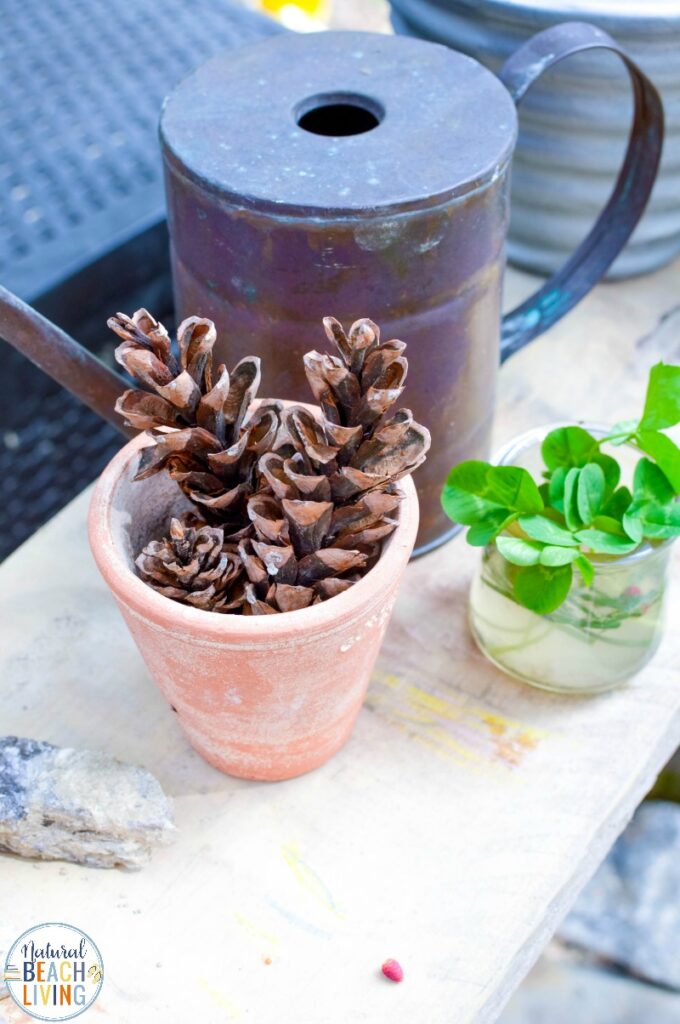
We have also added in logs, rocks, and crystals we’ve found, slices of wood from a few trees that came down in the neighborhood, pinecones, acorns, and a hook with a hose that they can pretend to fill up with water when the rain bucket is empty.
SUMMER ACTIVITIES
Studies have shown that you will also love the following ideas if you like them. I have pulled them together for you right here!
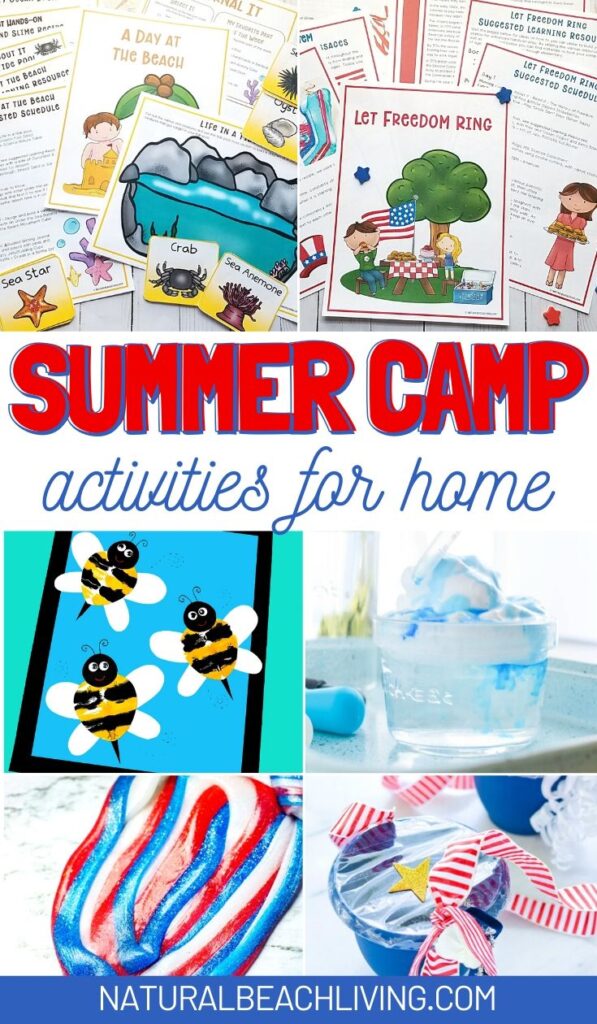
Summer Camp at Home
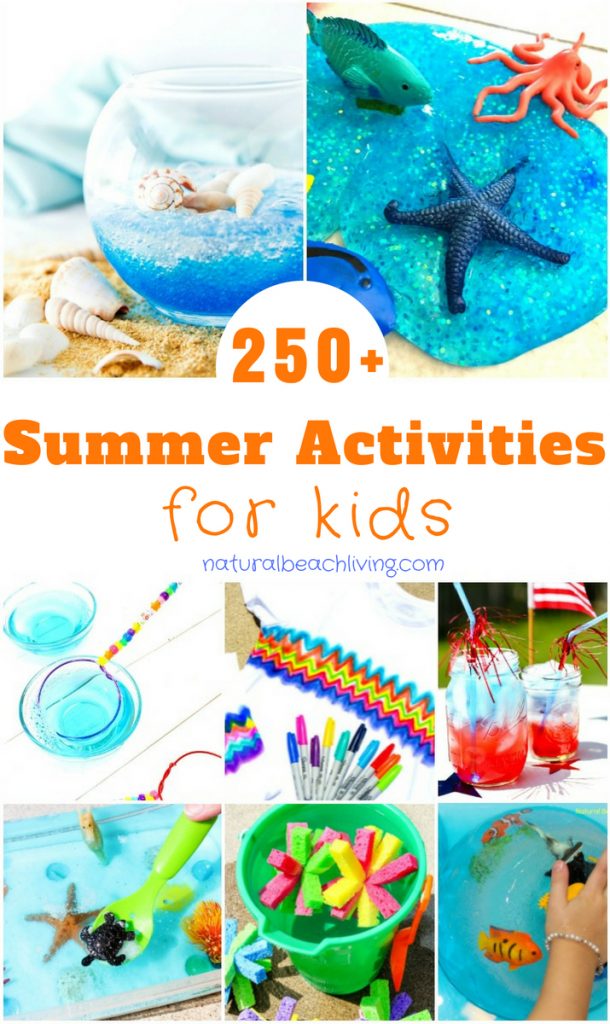
250+ Summer Activities for Kids
Backyard Play Area for Kids
Natural Outdoor Play Space for Kids
- 1 long board that was 8 feet long 10 inches wide, 2 inches thick. It is important to use a thick and very sturdy board for the counter surface so it can easily hold the weight that will go on it without bowing.
- 2 boards that were about 10 inches long 6 inches wide and 2 inches thick, these boards will help support and hold up the long counter board.
- 12 screws that are 3.5 to 4 inches long ideally stainless steel or another metal that will not rust. That will allow you to easily adjust the height over time or remove if needed.
- Level
- Screw gun with a bit that matches your screws.
- We did not need to drill pilot holes but you may need to depending on the strength of your drill, hardness of the wood and trees, ect
- Saw to cut the boards to length if needed.
- Sand paper
-
To install:
-
Measure the height you feel is the best height for your child or children, think about finding a middle spot that works for as many as possible. Also take into consideration how quickly children grow and plan for a little wiggle room so you hopefully wont need to change the height next summer.
-
Sand the boards all down to ensure there are no splinters in the kitchen.
-
Measure and mark the trees for the two short boards that will hold and support the counter.
-
Add the boards one at a time and double check to make sure they are level – both on the tree AND with each other.
-
Rest the long counter board on top of the two mounted boards, again check that the counter is level, adjust one of the boards mounted to the trees if needed.
-
Screw the long counter board onto the two sort boards and/or into the tree.
The steps and supplies for this project are all flexible based on the location you’ll be building the mud kitchen counter, the size you would like yours to be and the materials you have on hand. Below we’ll lay out how we made our exact set up. We used wood we happened to already have in the garage leftover from another project. This wood was not pressure treated, we were alright with that where there was no out of pocket expense for the project.
We started with a blank area in the backyard and quickly realized our children were most interested in using found items that were all around them in nature and mixing up fantastic mud cakes that were decorated with flowers and pinecones.
The DIY Science Table – Mud kitchen was created with two large fir trees that were about 8 feet apart at the height we placed the counter.
We spent way more time talking about the plans and choosing the trees than it took to mount the counter. Our children immediately brought over supplies and started playing and haven’t stopped!
We have also added in logs, rocks, and crystals we’ve found, slices of wood from a few trees that came down in the neighborhood, pinecones, acorns, and a hook with a hose that they can pretend to fill up with water when the rain bucket is empty.