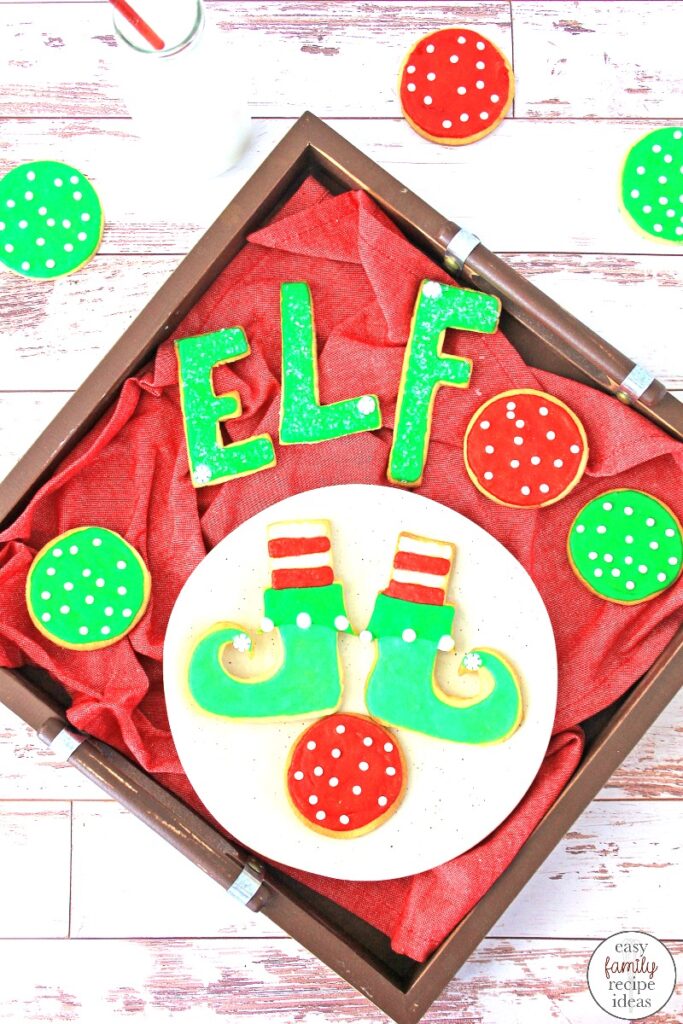
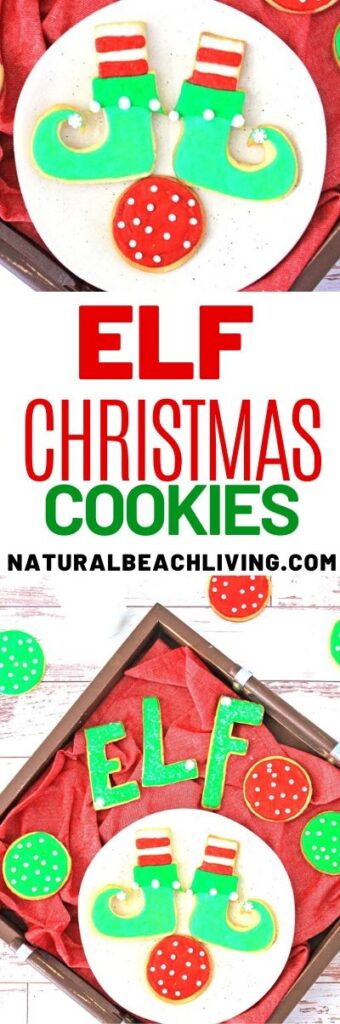
The Best Elf Cookies for Christmas
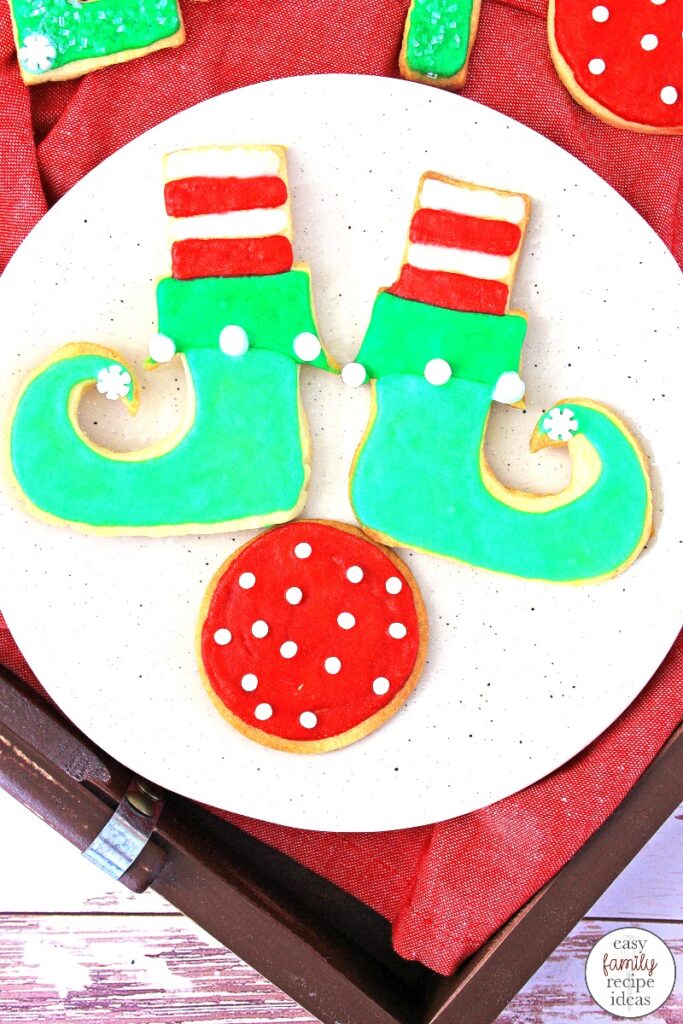
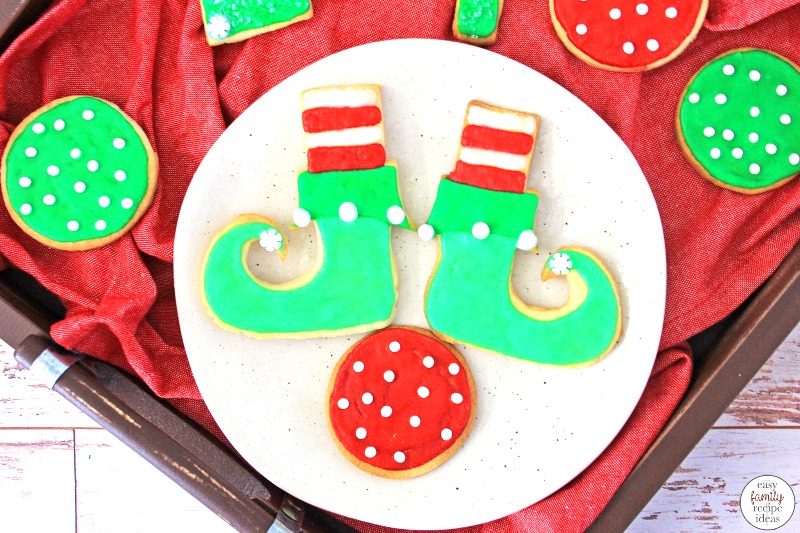
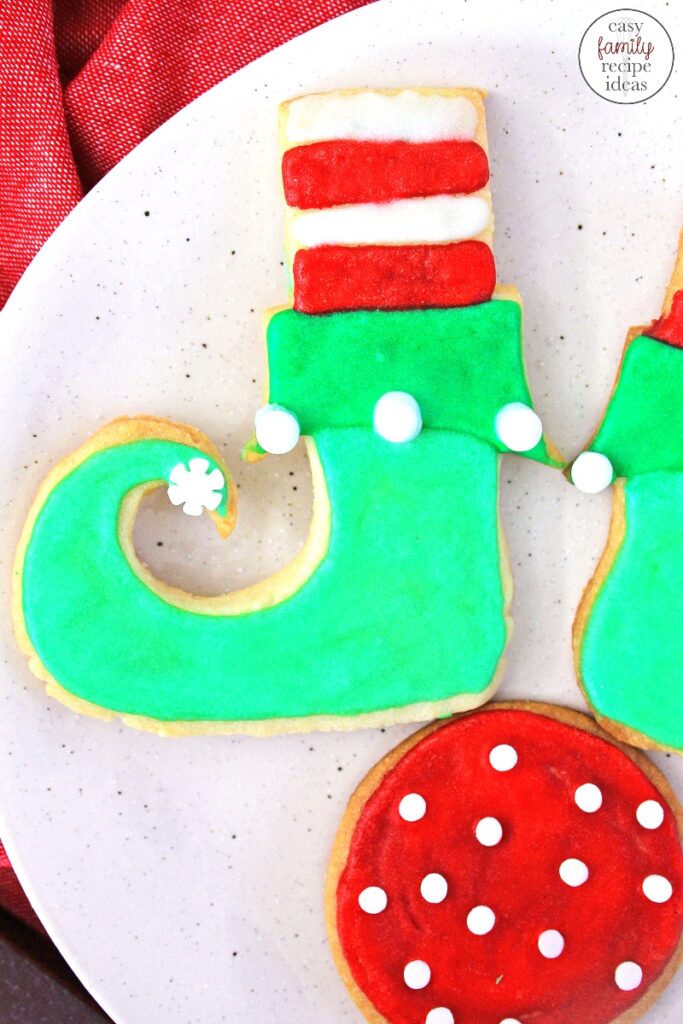
If you’re looking for Elf on the Shelf Food Ideas, don’t miss out on these Elf Cookies. They’re just about the cutest cookies ever…and they taste amazing as well!
Make these cookies a fun holiday tradition in your house and whip up a batch or two with the kids in December. Part of the fun is decorating and creating these adorable Elf on the Shelf Sweets.
Christmas Cookies
Elf Cookies
These cookies are beyond cute, and they’re so good you won’t be able to stop eating them. They are so much fun to make, and if you have little ones, they’ll love making ELF cookies.
You can make this a holiday tradition, and decorate cookies for an extra special treat, and great quality time. Invite Grandmothers and Grandfathers, Aunts, Uncles Cousins and friends, and make some great memories while decorating cookies.
Put this recipe in your Christmas Cookie section or favorites in your recipe book, because these sweet elf cookies are amazing!
affiliate links can be found on this blog at no cost to you.

How to Make Elf Christmas Cookies
The ingredients needed to make these Elf Cookies are listed below.
This recipe only calls for a handful of ingredients, and if you use this Elf Shoes template below, you’ll have the cutest Christmas cookies ever!
- 2 cups of butter – softened
- 2 cups of sugar
- 2 large eggs
- 1 Tablespoon of vanilla
- 5 cups of flour
- 1/4 teaspoon of salt
ICING: - 3 cups of powdered sugar
- 1/4 cup of cream
- 1 teaspoon of Vanilla
- 2 teaspoons of light corn syrup
- Red food coloring gel
- Green food coloring gel
Elf on the Shelf Sweets
First, print out the cookie pattern from the PDF link and cut it out.
In the mixing bowl of a stand mixer, cream the butter and sugar until light and fluffy. Add the eggs, and mix until well blended.
Scrape down the sides of the bowl, and mix again.
Add the vanilla and blend. In a separate bowl, mix the flour and salt, and then add a little at a time until all the flour is added, and well blended.
Place the dough on a floured surface, and flour a rolling pin.
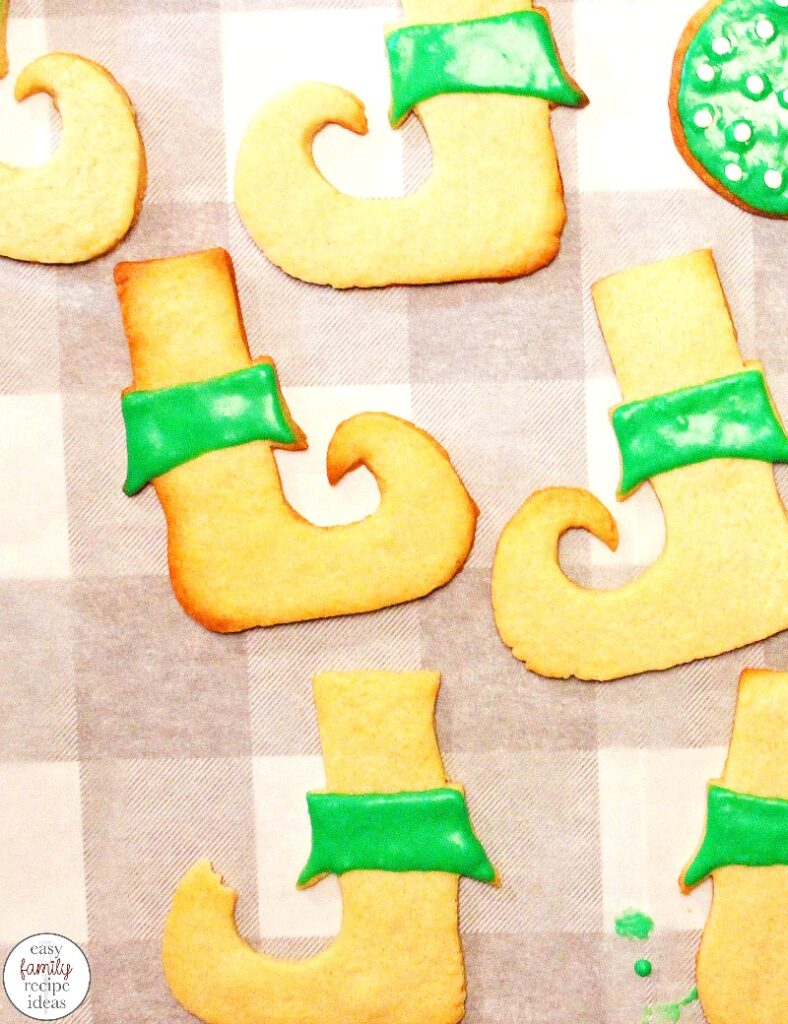
Sprinkle a small amount of flour on top of the dough, and roll the dough to a thin layer. Using the printed design, lay the design on top of the dough, and cut around the design with a sharp paring knife.
Place the cookies on a parchment lined cookie sheet, and bake for about 12 minutes, at 350 degrees, or until cookies are lightly golden brown around the edges.
Let the cookies cool completely.
While the cookies are cooling, make the icing.
In the mixing bowl of a stand mixer, blend the cream, vanilla and corn syrup.
Add the powdered sugar a little at a time until it’s all been added, and blended.
If the icing is too thin, add a little more powdered sugar; if it’s too thick, add a few more drops of cream, starting with two or three drops.
When you have the desired consistency, divide the icing in two large bowls, and one small bowl. Use the larger bowls for the red and green icing and the small bowl for the white icing.
To color, the icing, start with about 1/2 a teaspoon of the gel food coloring and mix well. If the color is too light, add a little more and stir well until you get the color desired.
No food coloring is added to the white icing. If desired; You can place the white icing in a squeeze bottle for easy decorating.
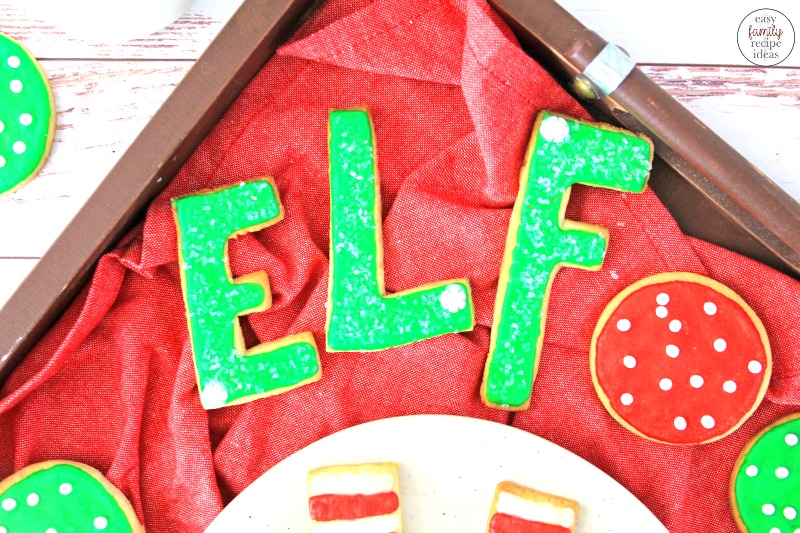
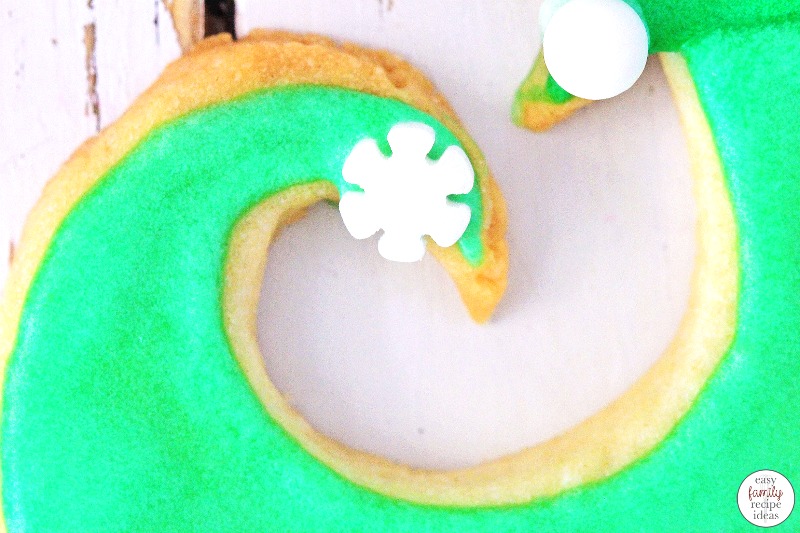
When the cookies have completely cooled, decorate with icing. Allow icing to dry, or set.
Elf on the Shelf Food Ideas
Serve these cookies on Christmas eve, to welcome your elves in December, or for a fabulous holiday party.
Everyone loves these adorable Elf cookies.
Quick tip: If you’re decorating these with a group of kids or friends, you can make the cookies ahead of time, as they need to completely cool before icing.
The squeeze bottles can be found at craft stores or
Elf on the Shelf Ideas for Cookies
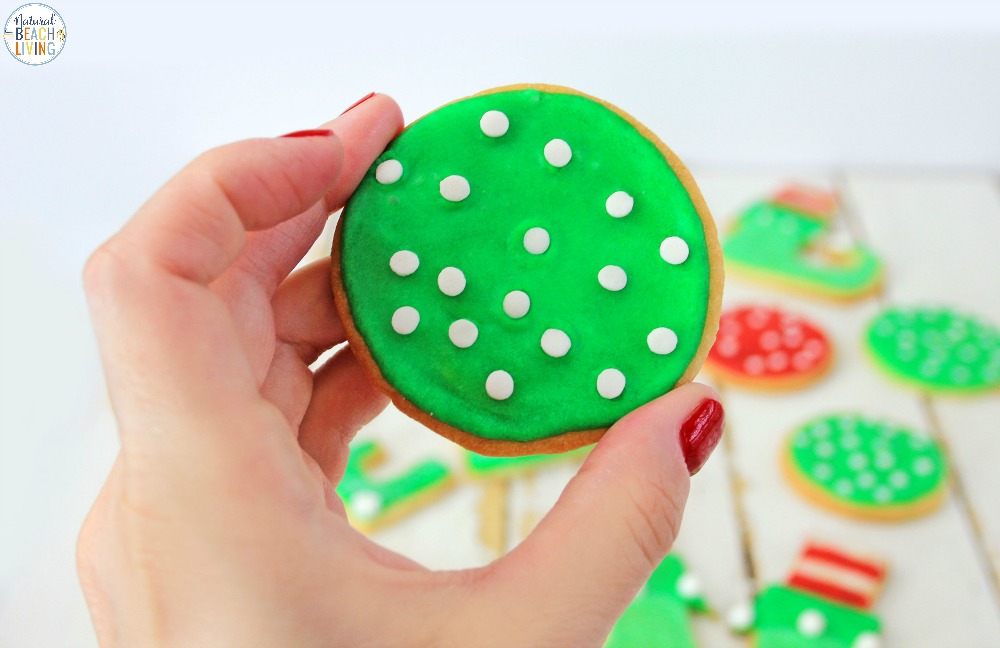
These cookies are so much fun to make too.
Christmas Recipes
Once you make these adorable Elf Cookies, your kids will love these Christmas recipes too.
ELF ON THE SHELF IDEAS FOR COOKIES
FREE ELF SHOE TEMPLATE
DOWNLOAD YOUR ELF SHOES TEMPLATE HERE
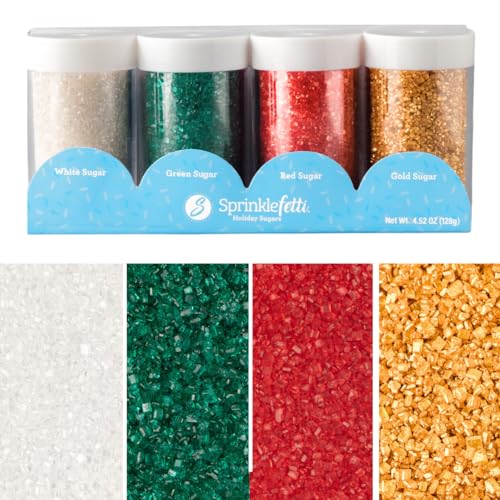
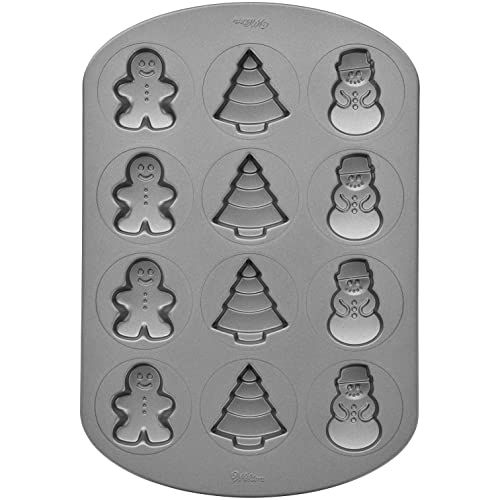
Baking Supplies:


Elf on the Shelf Ideas
Studies have shown that if you like this, you will also love the following recipes. I have pulled them together for you right here!
ELF ON THE SHELF IDEAS
Elf Cookies Recipe

These Elf Cookies are so much fun!
- 2 cups of sugar
- 2 large eggs
- 1 Tablespoon of vanilla
- 5 cups of flour
- 1/4 teaspoon of salt
- 3 cups of powdered sugar
- 1/4 cup of cream
- 1 teaspoon of Vanilla
- 2 teaspoons of light corn syrup
- Red food coloring gel
- Green food coloring gel
-
First, print off the pattern for the cookies from the PDF link, and cut out the pattern for the cookies.
-
In the mixing bowl of a stand mixer, cream the butter and sugar until light and fluffy. Add the eggs, and mix until well blended.
-
Scrape down the sides of the bowl, and mix again.
-
Add the vanilla and blend. In a separate bowl, mix the flour and salt, and then add a little at a time until all the flour is added, and well blended.
-
Place the dough on a floured surface, and flour a rolling pin.
-
Sprinkle a small amount of flour on top of the dough, and roll the dough to a thin layer.
-
Using the printed design, lay the design on top of the dough, and cut around the design with a sharp paring knife.
-
Place the cookies on a parchment lined cookie sheet, and bake for about 12 minutes, at 350 degrees, or until cookies are lightly golden brown around the edges.
-
Let the cookies cool completely.
-
While the cookies are cooling, make the icing.
-
In the mixing bowl of a stand mixer, blend the cream, vanilla and corn syrup.
-
Add the powdered sugar a little at a time until it's all been added, and blended.
-
If the icing is too thin, add a little more powdered sugar, if it's too thick, and a few more drops of cream, starting with two or three drops.
-
When you have the desired consistency, divide the icing in two large bowls, and one small bowl. Use the larger bowls for the red and green icing and the small bowl for the white icing.
-
To color, the icing, start with about 1/2 a teaspoon of the gel food coloring and mix well. If the color is too light, add a little more and stir well until you get the color desired.
-
No food coloring is added to the white icing. If desired; You can place the white icing in a squeeze bottle for easy decorating.
-
When the cookies have completely cooled, decorate with icing. Allow icing to dry, or set.
Serve, and Enjoy!
If you’re decorating these with a group of kids or friends, you can make the cookies ahead of time, because they need to completely cool before you ice them. The squeeze bottles can be found at craft stores or some stores. Most grocery stores also carry them on the aisle where you find the Utensils and gadgets. It makes it much easier to dot the cookies or stripe the cookies with the squeeze bottles.