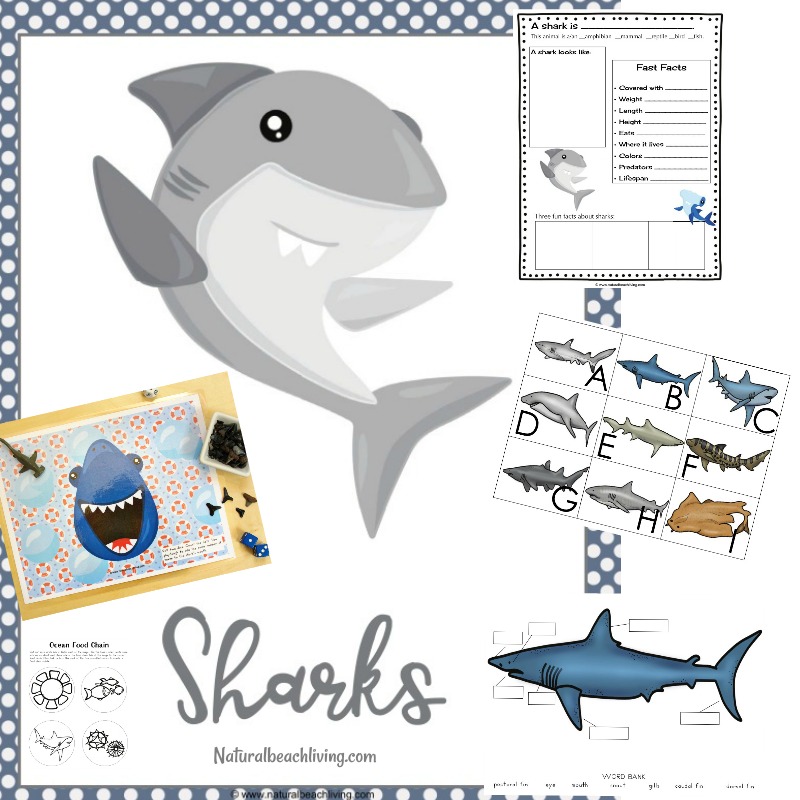
Ocean Science for Kids – Easy Ocean Life Experiment Kids Love
It’s summer, so that means it’s the perfect time to enjoy activities on Beach and Ocean Science for kids. Start teaching your children about the beach and ocean life by setting up this fun summer science activity. Kids will love learning about density with an exciting hands-on ocean activity. So gather your preschoolers, kindergarteners, and early elementary children for an easy ocean life experiment they will love.
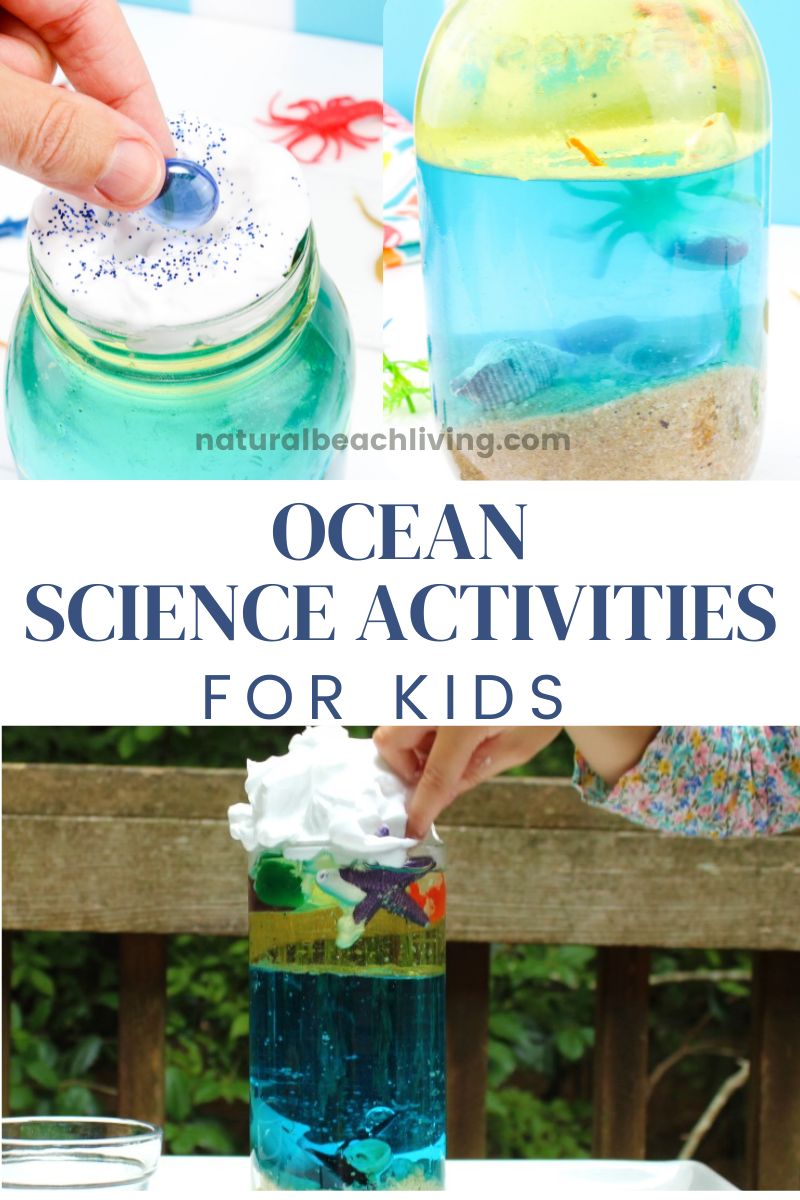
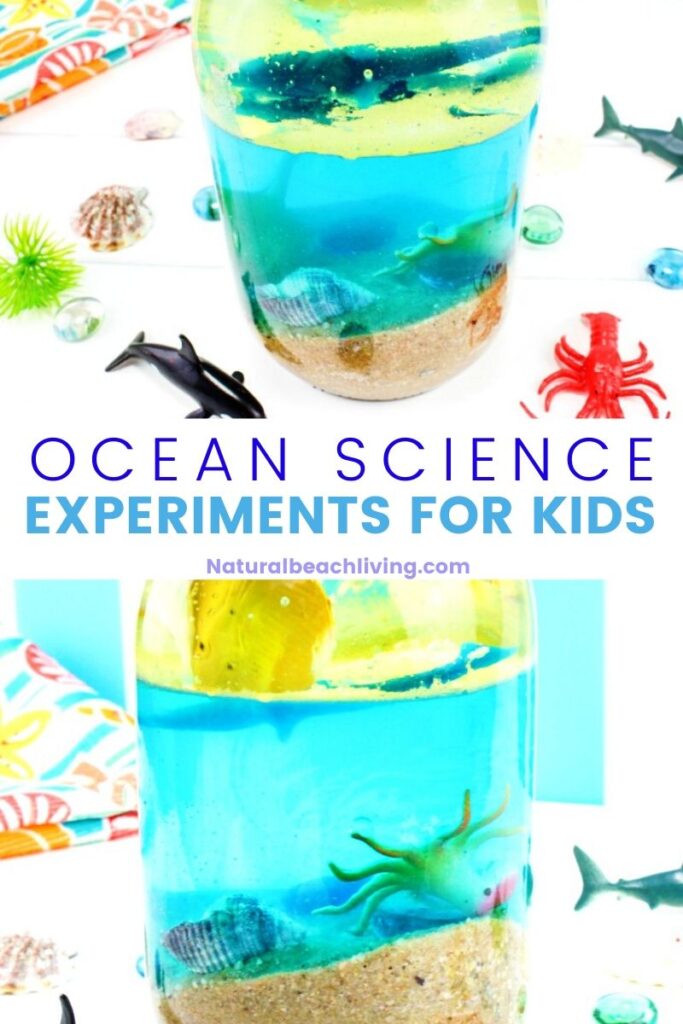
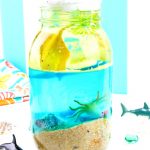
This ocean density jar has an ocean floor, ocean water, ocean life, the sky, and fluffy clouds. Have fun!
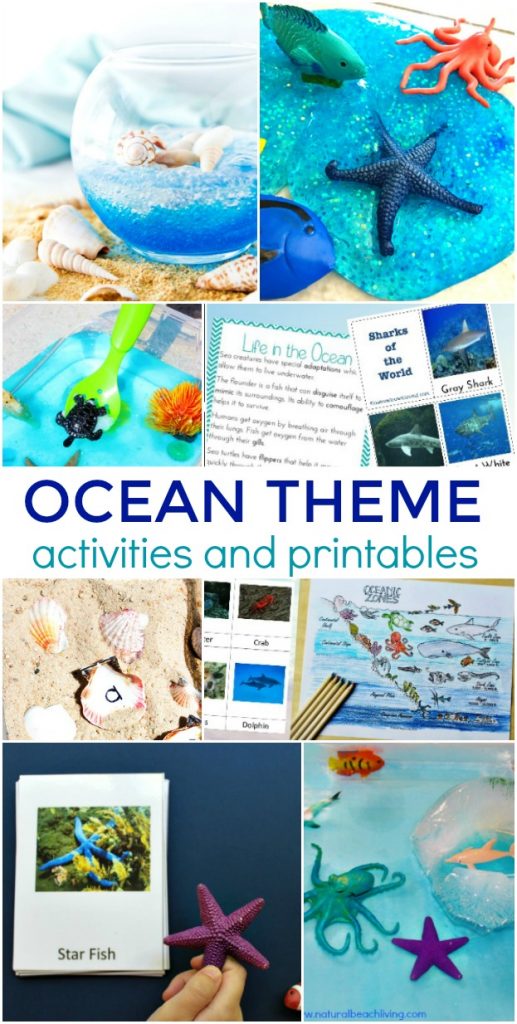
Ocean Science Activities for Kids

Ocean Science for Kids – Easy Ocean Life Experiment Kids Love
Are you starting an ocean theme preschool unit or looking for fun ocean theme ideas to keep your children excited and learning throughout this summer? You’ve come to the perfect place. We love learning and sharing about the beach and filling the year with under the sea activities.

Water Density Experiment
What you will need to make your Ocean Life Density Experiment is in this picture below. However, I have it displayed in list form towards the bottom of the page. Enjoy!
affiliate links can be found on this blog at no cost to you.


Under the Sea Preschool Activities
Before doing this science experiment, we took some time to read together about the ocean, beach and ocean life.
Spend time talking about what types of things live in the ocean and explaining the different layers in this Science experiment helps the children understand what they are learning.
Under the Sea Science Experiments
Ocean Activities for Preschoolers in Science
Let your children guess where each ocean animal will land inside your density jar. Do they think everything will sink to the sand floor, or will some things float? Let’s see what happens.


Ocean Activities for Preschoolers and Kindergarten

Start by gathering your supplies on a tray for your child. It makes everything run smoother if you can have the set up ready before you start.
Science Activity for Kids
let’s get started

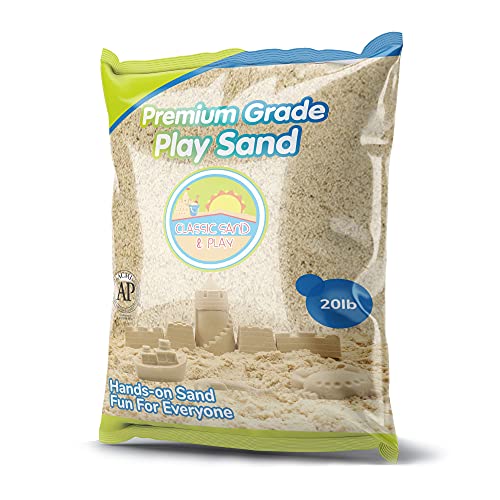
Have your child fill the bottom of the jar with sand a couple of inches deep, depending on the jar.

You only need one drop of food coloring to color the water light blue. The 2nd step is for your child to pour the water into the jar slowly so it fills it about 2/3 full.
I prefer to have the amount of water that’s needed already in a pouring cup for the children to use.

Next, slowly pour in the oil until about an inch from the top of the jar.

Squeeze a thick layer of shaving cream around the inside edge of the jar to resemble puffy clouds. Squeeze a very thin layer on the top of the oil in the center of the jar opening, leaving one or two little holes with no shaving cream. The small holes with no shaving cream will make it much easier to drop stuff into the jar.
I prefer to do the shaving cream squirting myself so it doesn’t go all over the place, but if you have older children doing the science activity, I am sure they can make the clouds themselves.
If you are using glitter, sprinkle that over the shaving cream to represent rain. It will not go through the shaving cream, so that means the rain is still stuck in the clouds.


Beach Science Experiments
Now it is time to start the density experiment: The sand represents the ocean floor, the water is the ocean water, the oil is the sky, and the white shaving cream is the clouds.
Sand is heavier than water, water is heavier than oil, and oil is heavier than shaving cream, so that is why the density jar is layered that way.
Start dropping in ocean objects to see which will go down in the sand, which will float in water, and which will float in the oil. It all depends on the weight of the objects we are using. We had some ocean objects on the sand, some floated in the water for a few minutes, and the whale, starfish, and the sea plant floated in the oil.

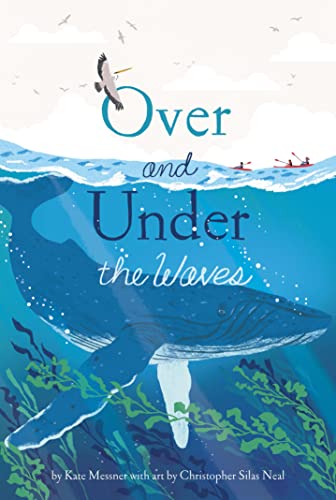
Ocean Books for Kids


Ocean Science Experiments for Preschoolers and Kindergarten
Density jars are an easy and fun way to show kids how different liquids and different objects have different densities. Some liquids float above others (like oil and water), while others sink right through.


Preschool and Kindergarten Ocean Science

This is a fantastic STEM experiment to begin talking about the science behind our oceans and differences in density. For younger kids, it’s a fun beginner activity to explore different solids, liquids, and gas.

Hands-on Science activities are fascinating for children and keep learning new things exciting.
Ocean Science Experiments for Preschoolers

Ocean Life Density Jar
What’s Needed
1 Empty Quart Jar
Sand
Vegetable/Canola Oil
Blue Food Coloring
Shaving Cream—foamy type
Plastic Ocean Creatures, Glass Rocks or Sea Glass, Aquarium Sea Plants, Small Shells
Glitter (optional)
Water
Directions
1. First, fill the jar’s bottom with sand a few inches deep.
2. Color the water light blue. Slowly pour water into the jar, so it fills it about 2/3 full.
3. Slowly pour in the oil until about an inch from the top of the jar.
4. Squeeze a thick layer of foam shaving cream around the inside edge of the jar to resemble puffy clouds. Squeeze a very thin layer on the top of the oil in the center of the jar opening, leaving one or two little holes with no shaving cream. The little holes with no shaving cream make it much easier to drop stuff into the jar.
5. Now it is time to start the density experiment: The sand represents the ocean floor, the water is the ocean water, the oil is the sky, and the white shaving cream is the clouds.
6. If you are using glitter, sprinkle that over the shaving cream to represent rain. It will not go through the shaving cream, so that means the rain is still stuck in the clouds.
7. Sand is heavier than water, water is heavier than oil, and oil is heavier than shaving cream, so that is why the density jar is layered that way. Start dropping in ocean objects to see which will go down in the sand, which will float in water, and which will float in the oil. It all depends on the weight of the objects we are using. I had some ocean objects on the sand, some floated in the water for a few minutes, and the whale and the sea plant floated in the oil.
This is a fun summer ocean experiment for kids to learn about density!


Beach Stem Activities & Ocean Science Experiment

For more resources, printables, and activities related to the ocean and its inhabitants, please visit our Oceans Activities page and my Under the Sea Pinterest board.
Ocean Slime Science with Clear Slime Recipe Click Here
OCEAN ACTIVITIES FOR KIDS
Studies have shown that you will also love the following articles if you like this. I have pulled them together for you right here!
Ocean Unit Study with Free Ocean Theme Printables

35+ Ocean Theme Activities for Preschool and Kindergarten
20+ Under the Sea Activities for Kids


OCEAN SCIENCE EXPERIMENTS
Ocean Life Density Jar for Kids
- 1 Empty Quart Jar
- Sand
- Vegetable/Canola Oil
- Blue Food Coloring
- Shaving Cream—foamy type
- Plastic Ocean Creatures Glass Rocks or Sea Glass, Aquarium Sea Plants, Small Shells
- Glitter optional
- Water
-
First, fill the jar’s bottom with sand a few inches deep.
-
Color the water light blue. Slowly pour water into the jar, so it fills it about 2/3 full.
-
Slowly pour in the oil until about an inch from the top of the jar.
-
Squeeze a thick layer of foam shaving cream around the inside edge of the jar to resemble puffy clouds. Squeeze a very thin layer on the top of the oil in the center of the jar opening, leaving one or two little holes with no shaving cream. The little holes with no shaving cream make it much easier to drop stuff into the jar.
-
Now it is time to start the density experiment: The sand represents the ocean floor, the water is the ocean water, the oil is the sky, and the white shaving cream is the clouds.
-
If you are using glitter, sprinkle that over the shaving cream to represent rain. It will not go through the shaving cream, so that means the rain is still stuck in the clouds.
-
Sand is heavier than water, water is heavier than oil, and oil is heavier than shaving cream, so that is why the density jar is layered that way. Start dropping in ocean objects to see which will go down in the sand, which will float in water, and which will float in the oil. It all depends on the weight of the objects we are using. I had some ocean objects on the sand, some floated in the water for a few minutes, and the whale and the sea plant floated in the oil.